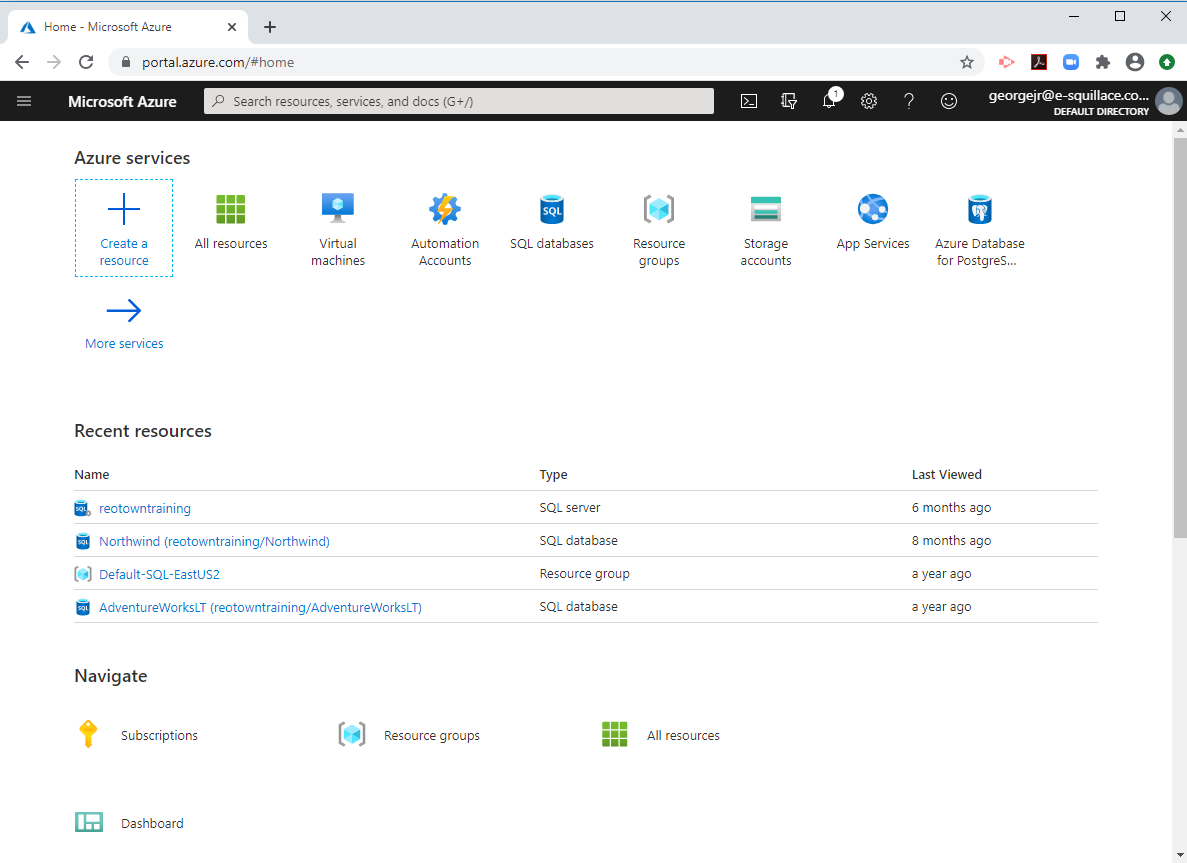
 Step 1 – Log into the Azure portal, then click on “Create a resource” |  Step 2 – Create New – Analytics category, then click on “Analysis Services” | 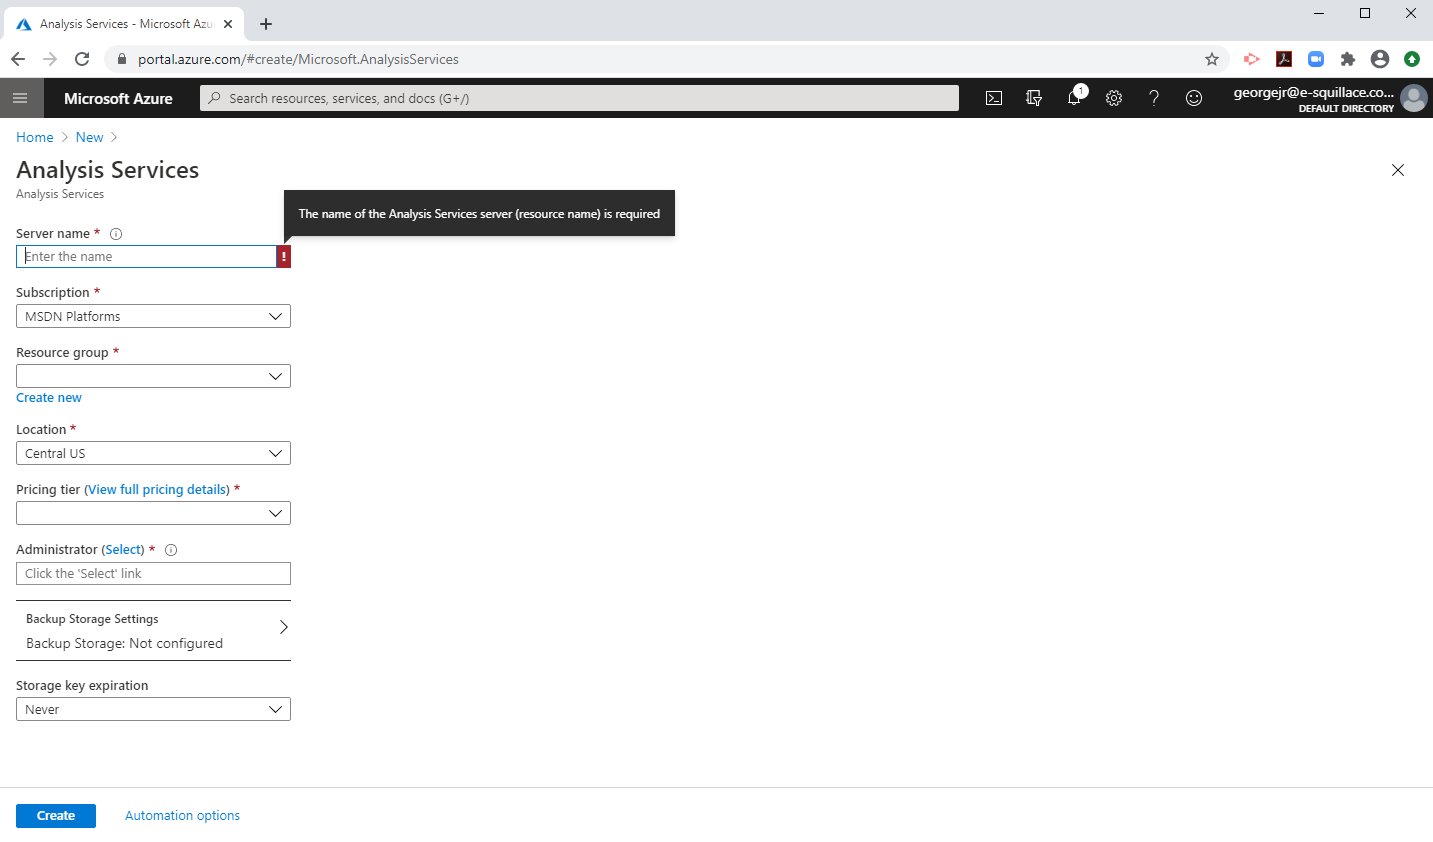 Step 3 – Create Analysis Services – beginning, blank form |
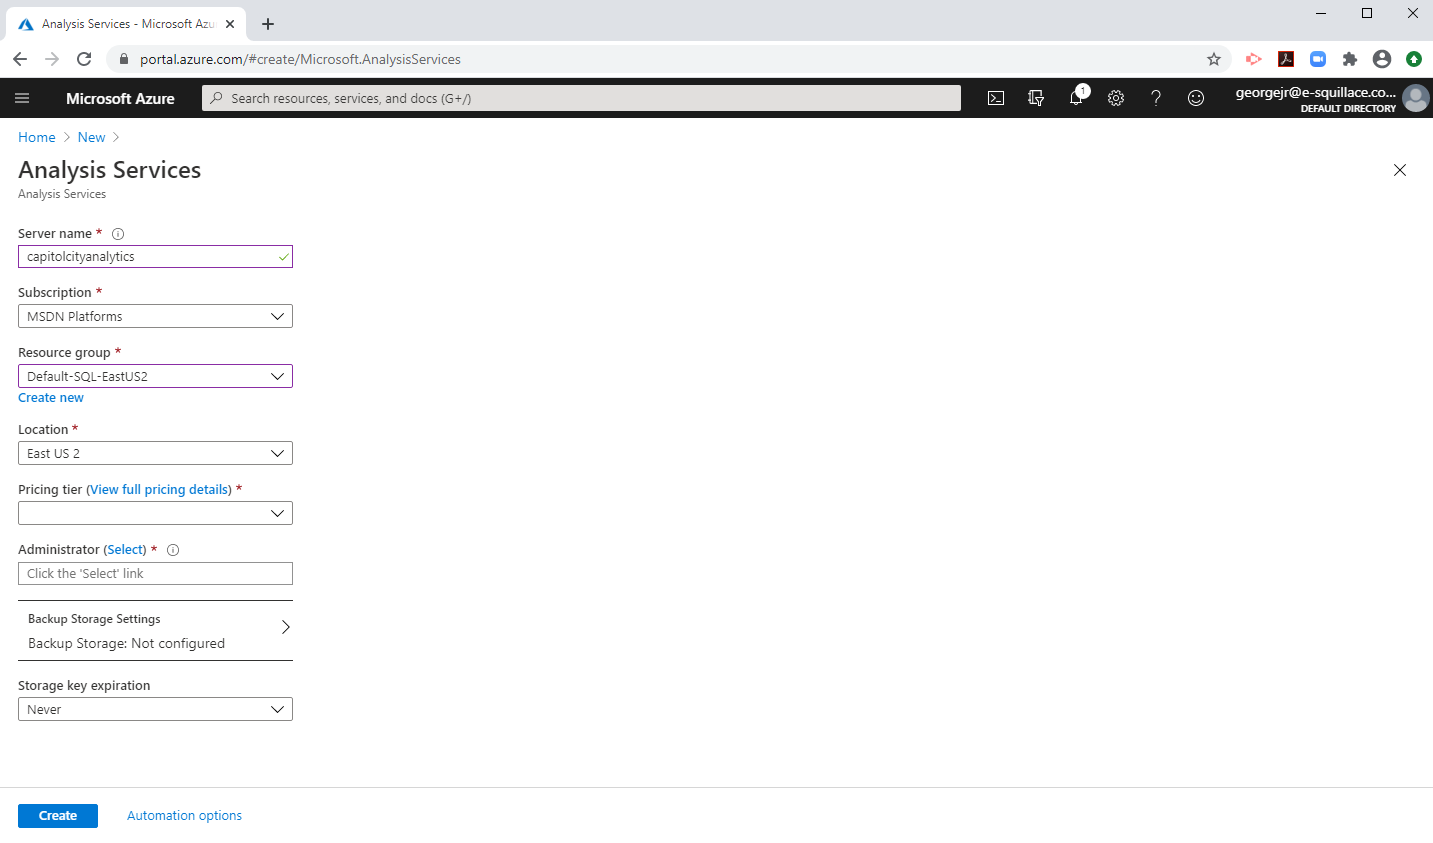 Step 4 – Assign server Name, Resource Group, and Location |  Step 5 – Pricing Tiers | |
 Step 6a – Click “Select” Link to assign an Administrator | 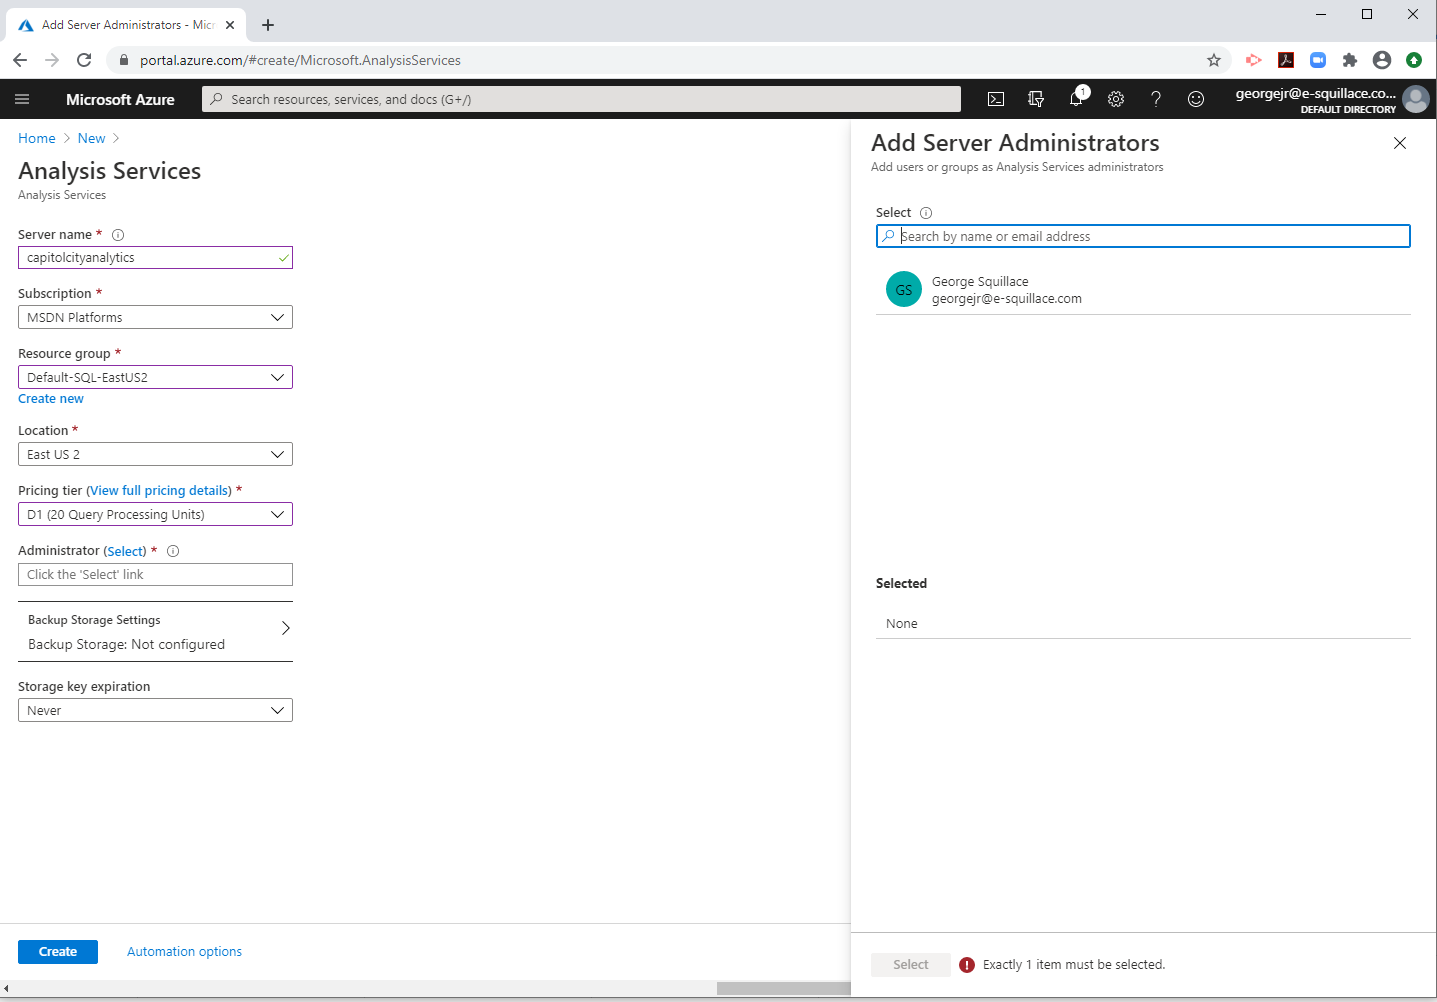 Step 6b – Click Select Link for Administrator – Administrator Chosen (only one choice was available in my tenant) | |
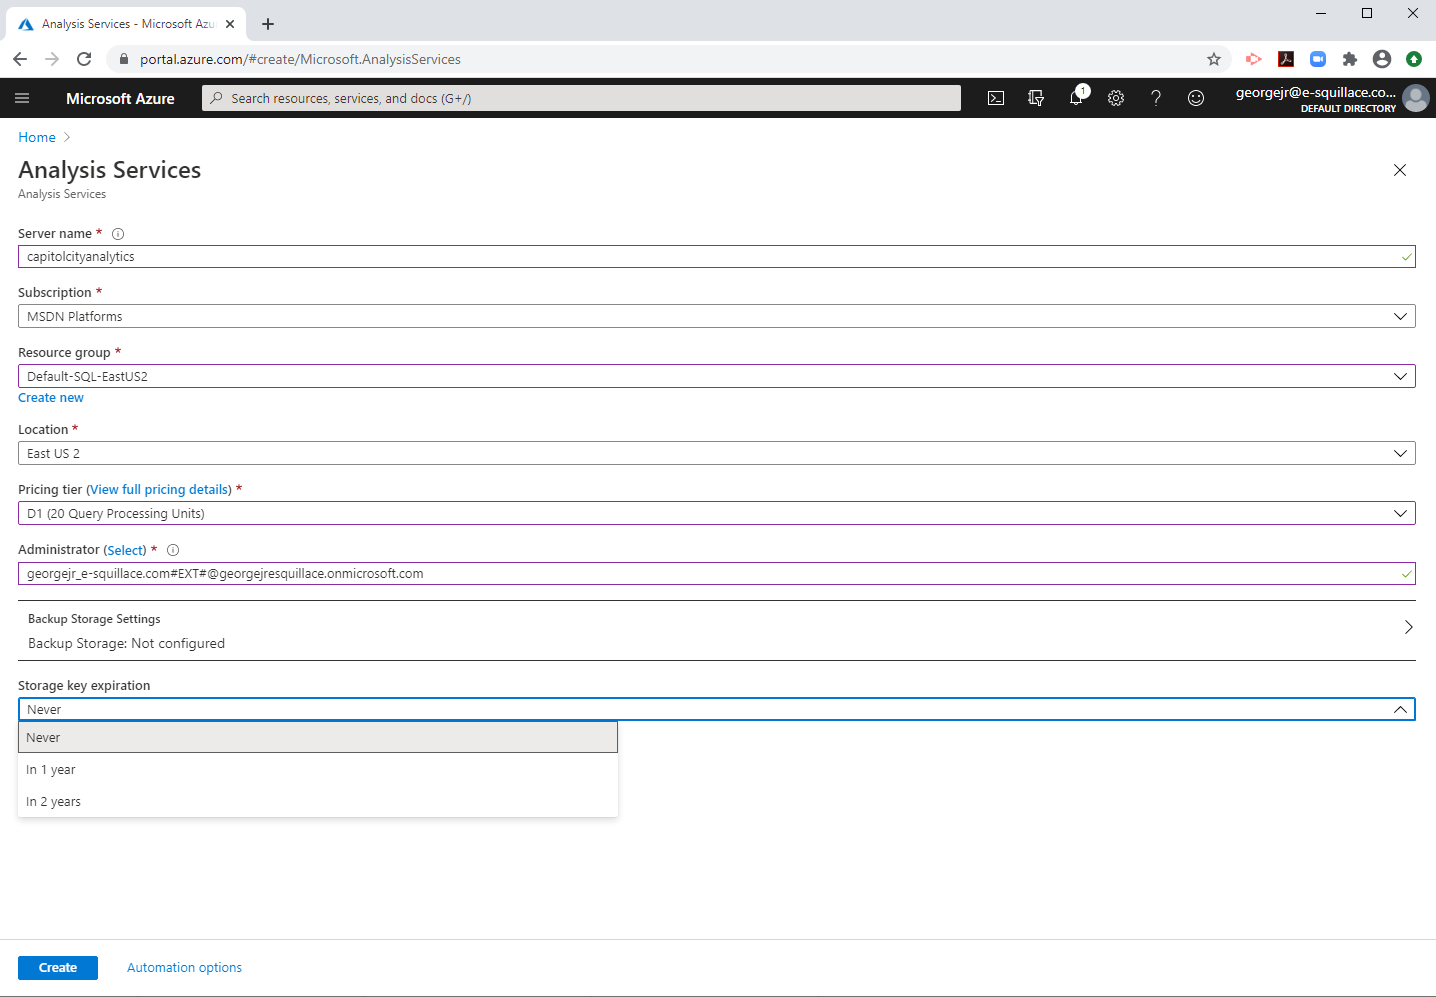 Step 7 – Storage Key Expiration Choices with “Never” selected, then click on “Create” | ||
 Step 8a – Deployment In Progress | 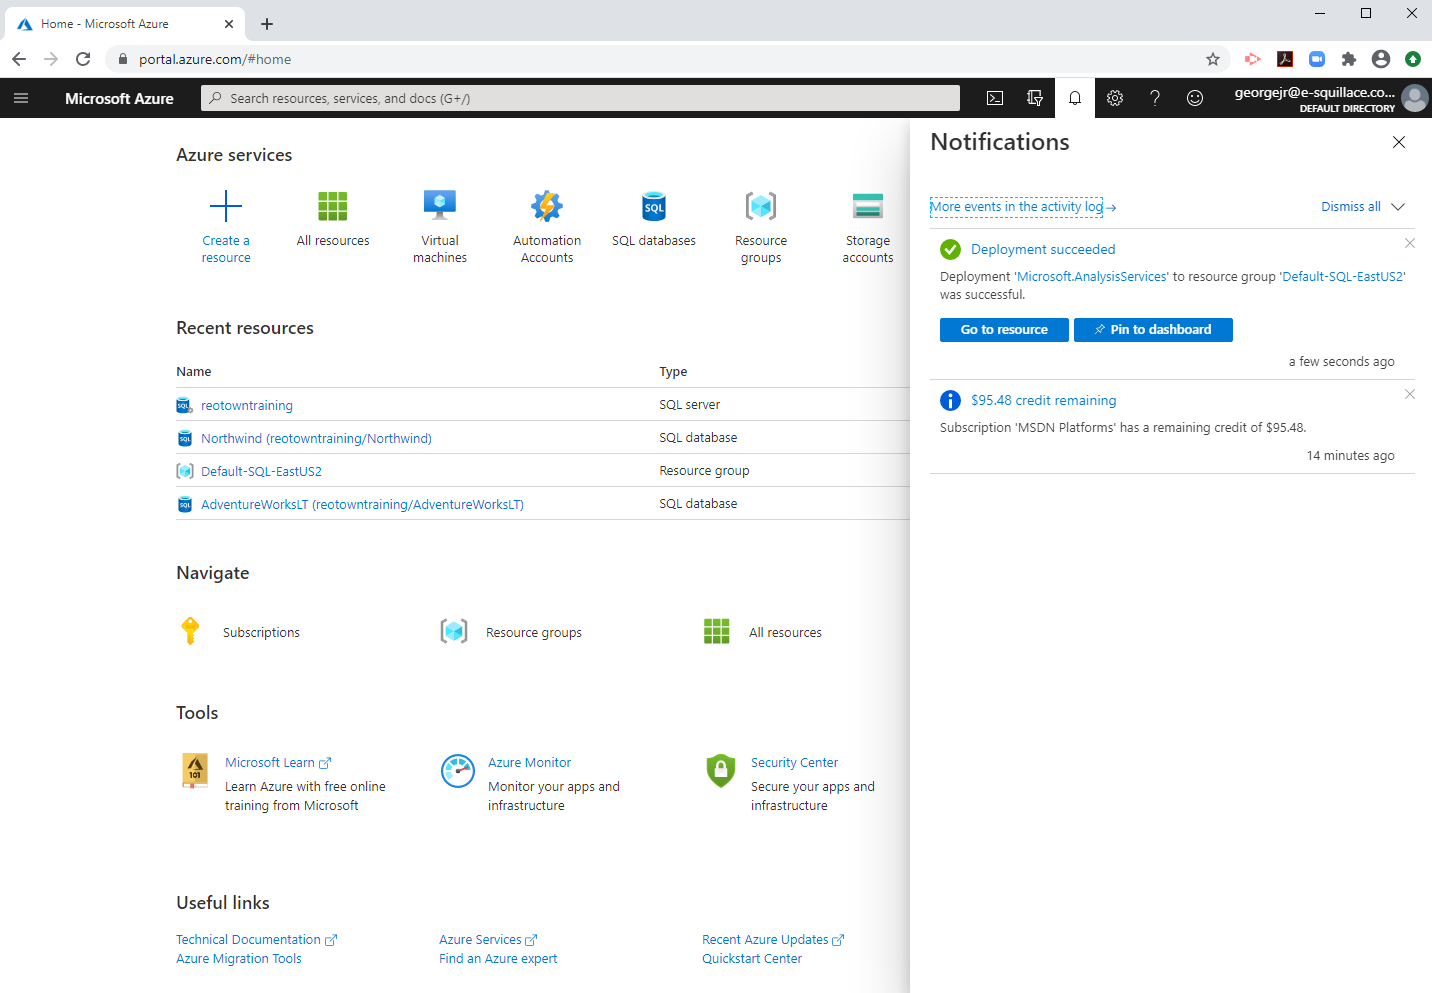 Step 8b – Deployment Succeeded | |
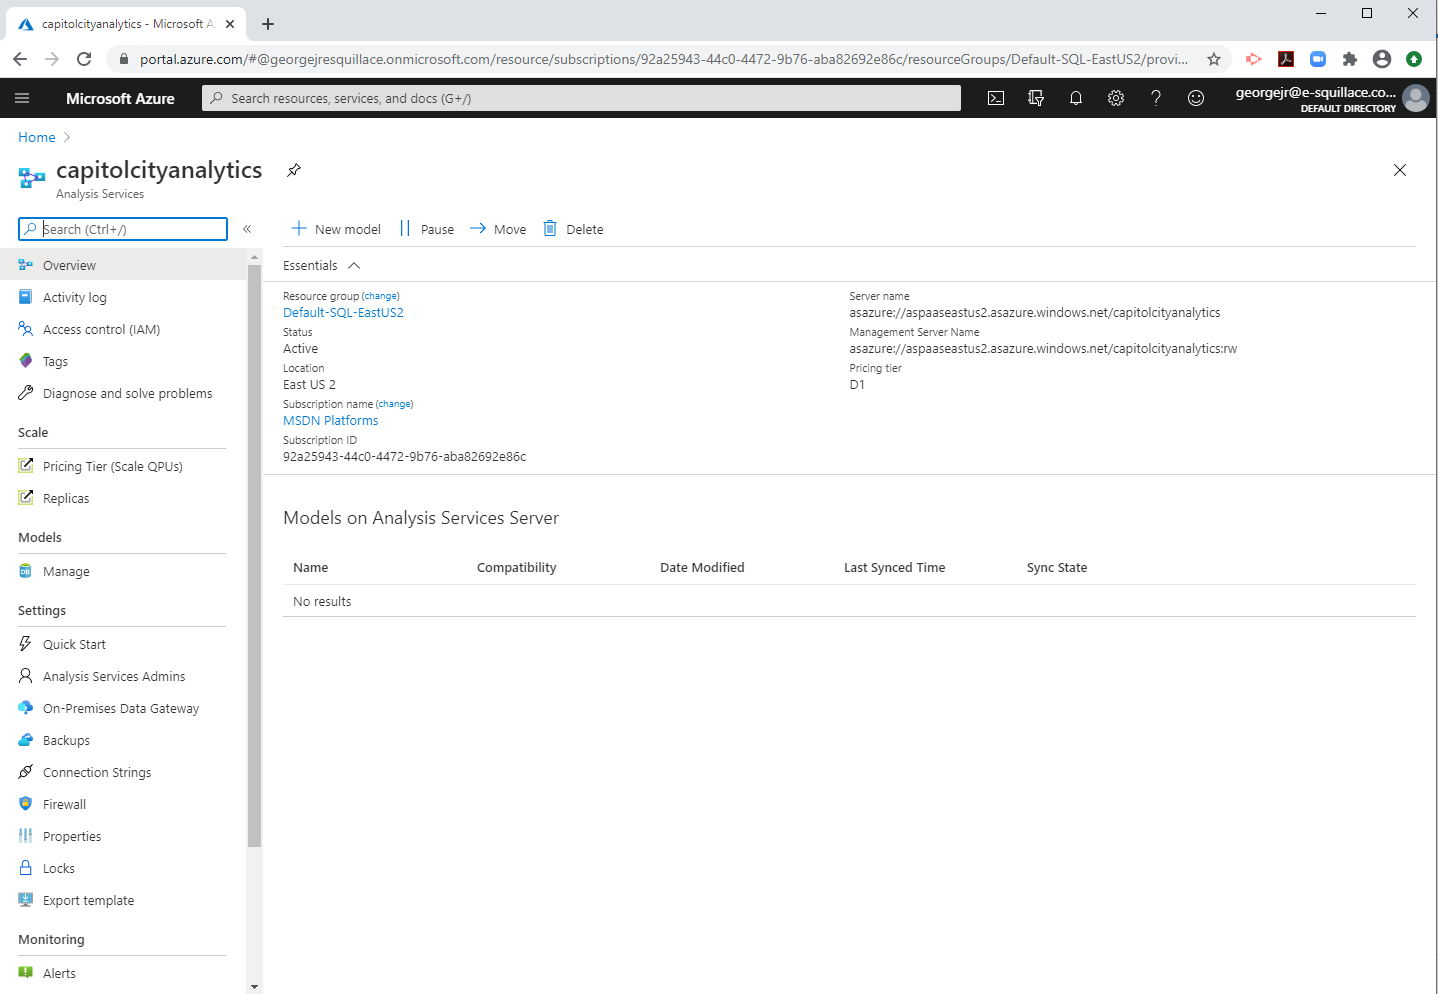 Step 9 – Resource Home Page After Clicking – Go To Resource – Overview Page Notice the URL / Server name | 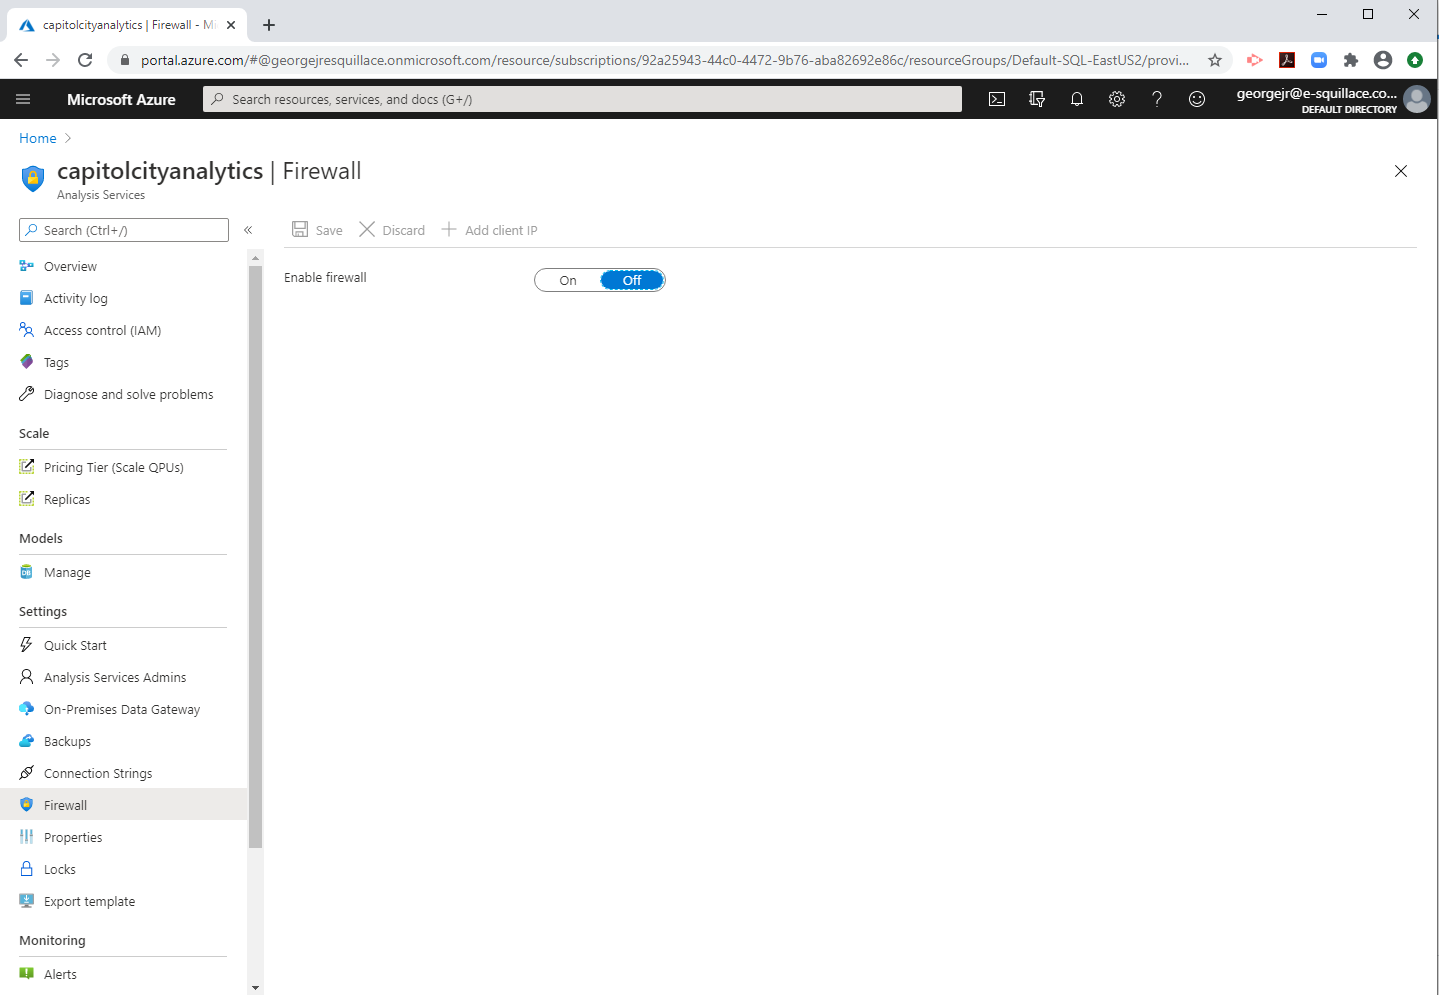 Step 10 – Firewall Disabled by Default, click to turn it on | |
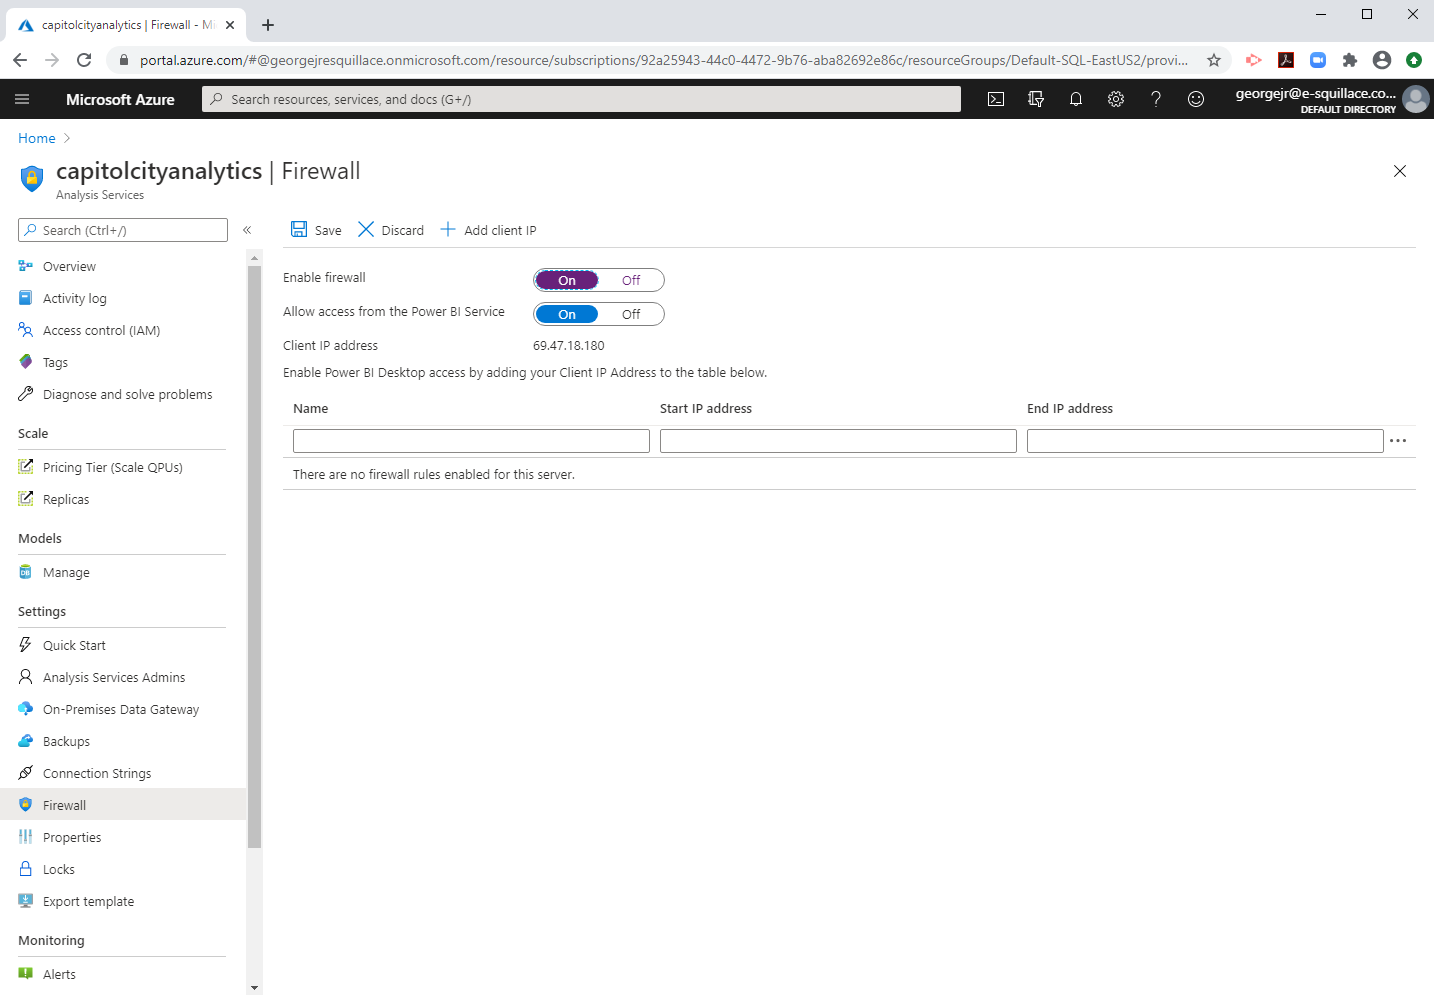 Step 11a – Firewall Turned On |  Step 11b – Add Permissive Firewall Rule – Then Click the “Save” button up top Note: DO NOT use this type of firewall rule in production! | |
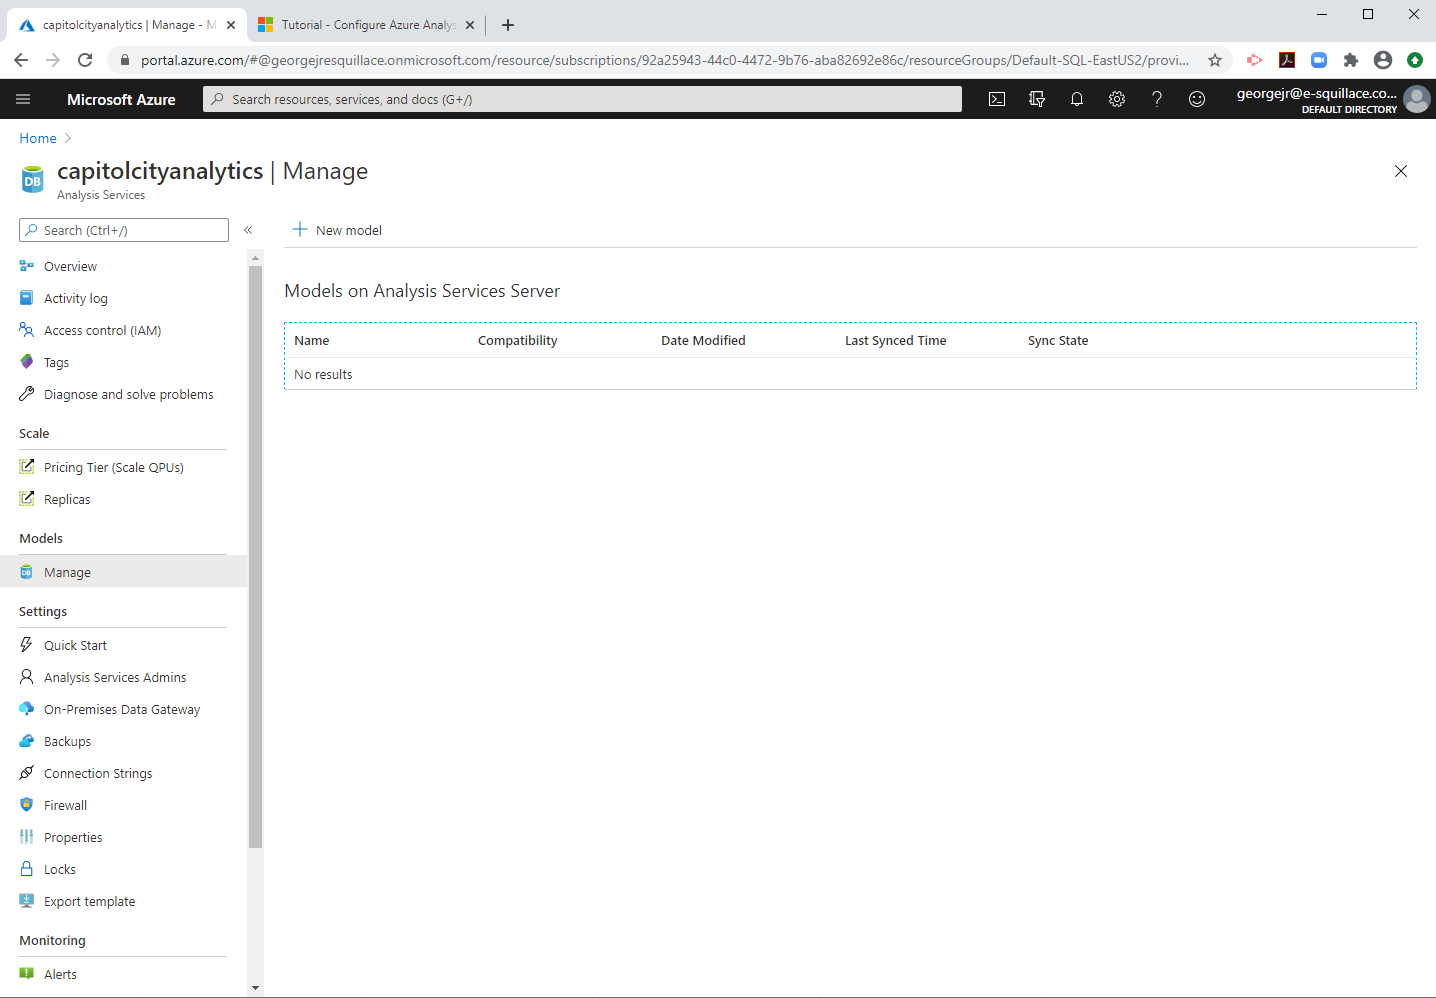 Step 12a – Models section, Manage page – no models by default, click on the “New model” button | 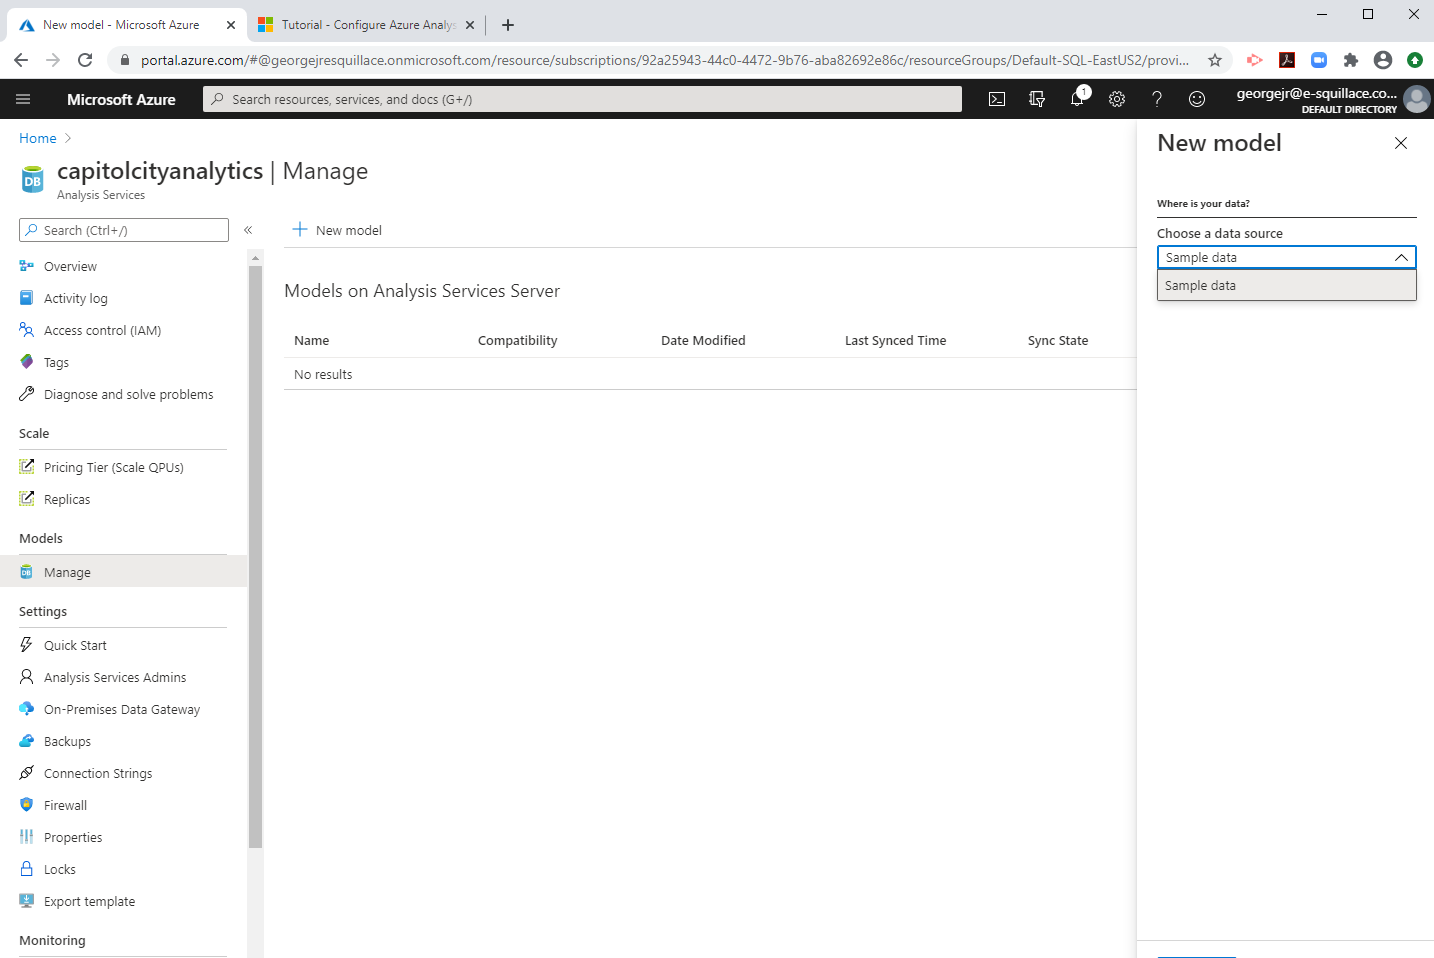 Step 12b – New Model – Select “Sample Data” from the “Choose a data source” drop down list – Click Add (oops, not visible in the screenshot) | 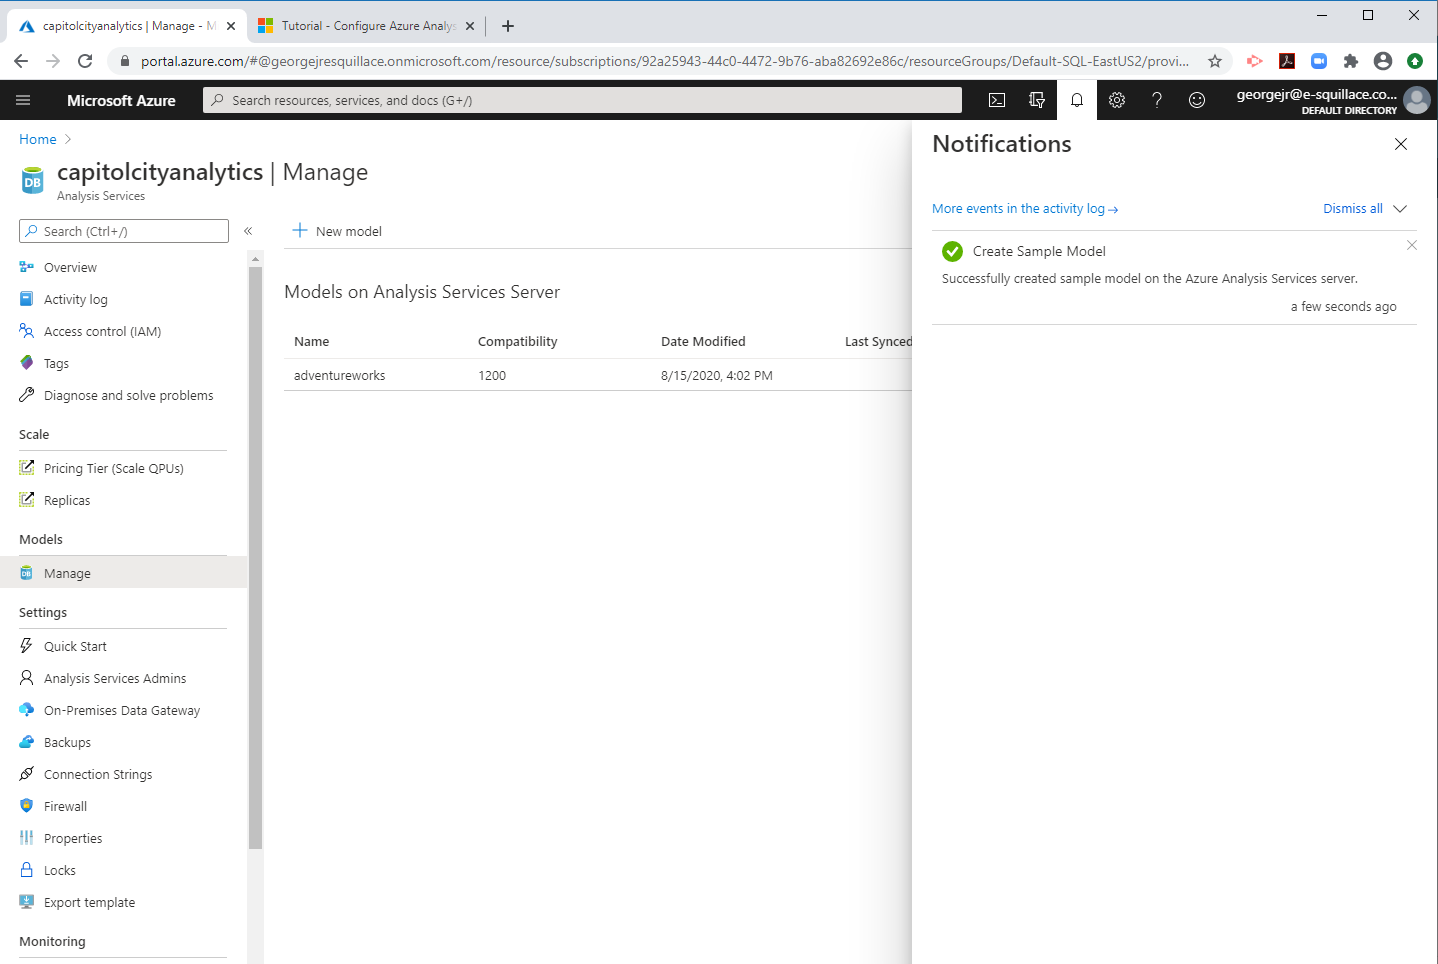 Step 12c – Model Created named “adventureworks” with a Compatibility of 1200 |
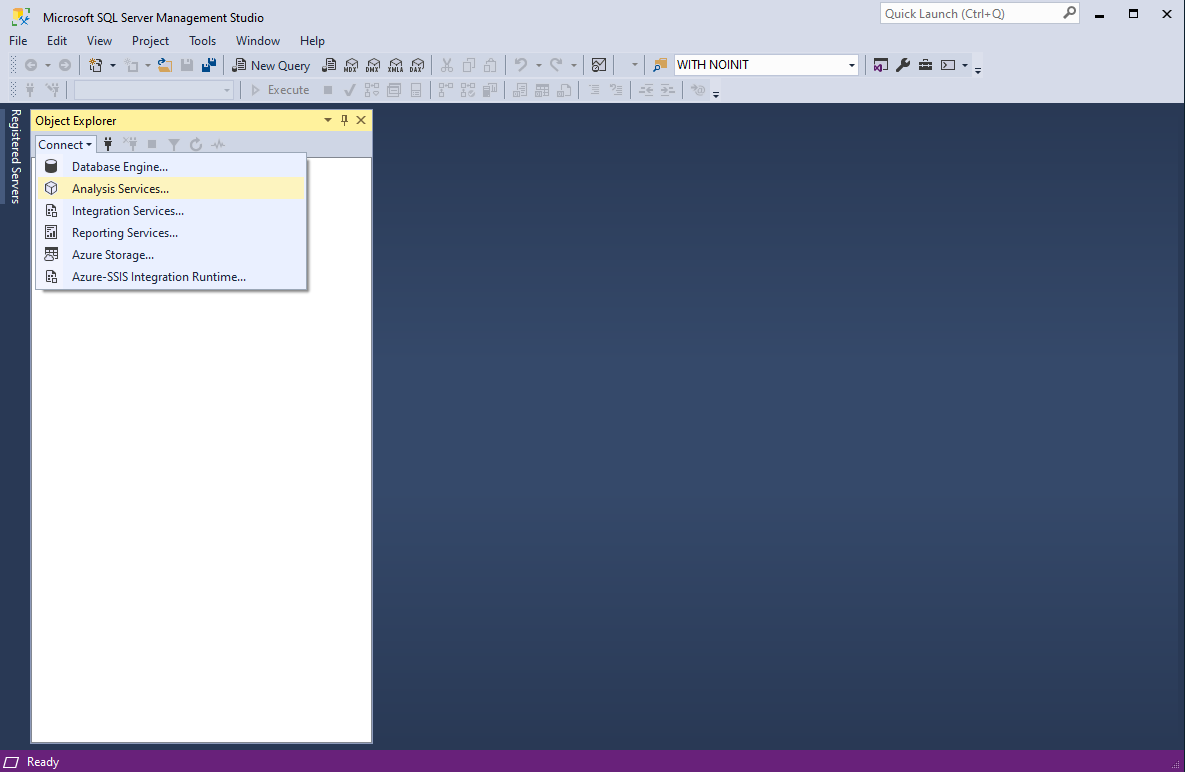 Step 13a – Connect to Azure Analysis Services in SSMS – Initiate Connection | 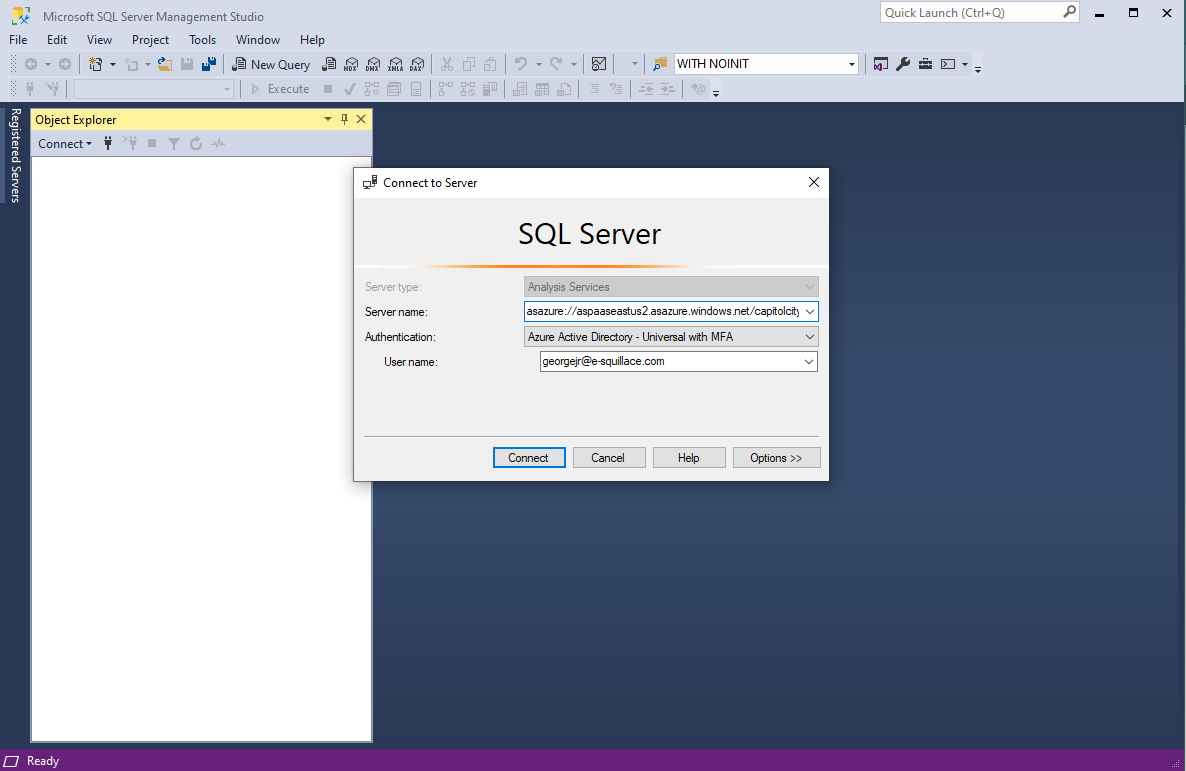 Step 13b – Connect to Azure Analysis Services in SSMS – Notice the use of a URL specifying Protocol, Service, Location, Server Name, Authentication Type and and Username – Click Connect | 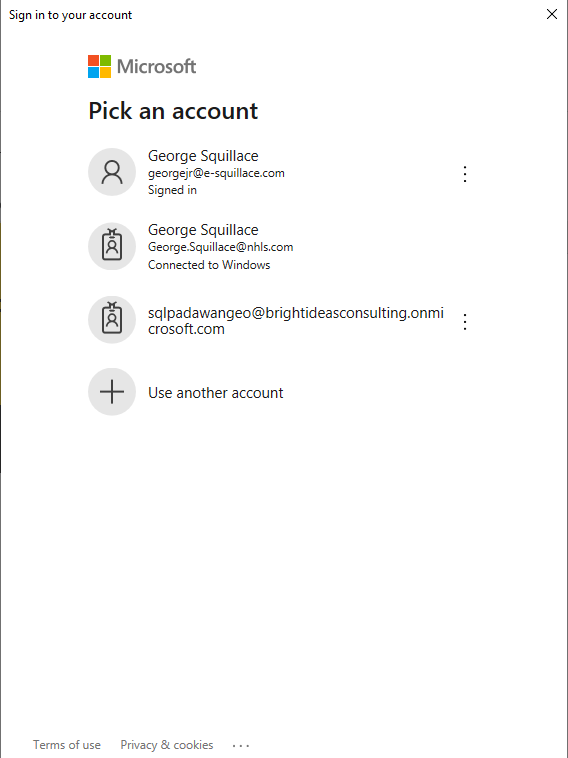 Step 13c – Pick an Account – Subsequently Supply Password |
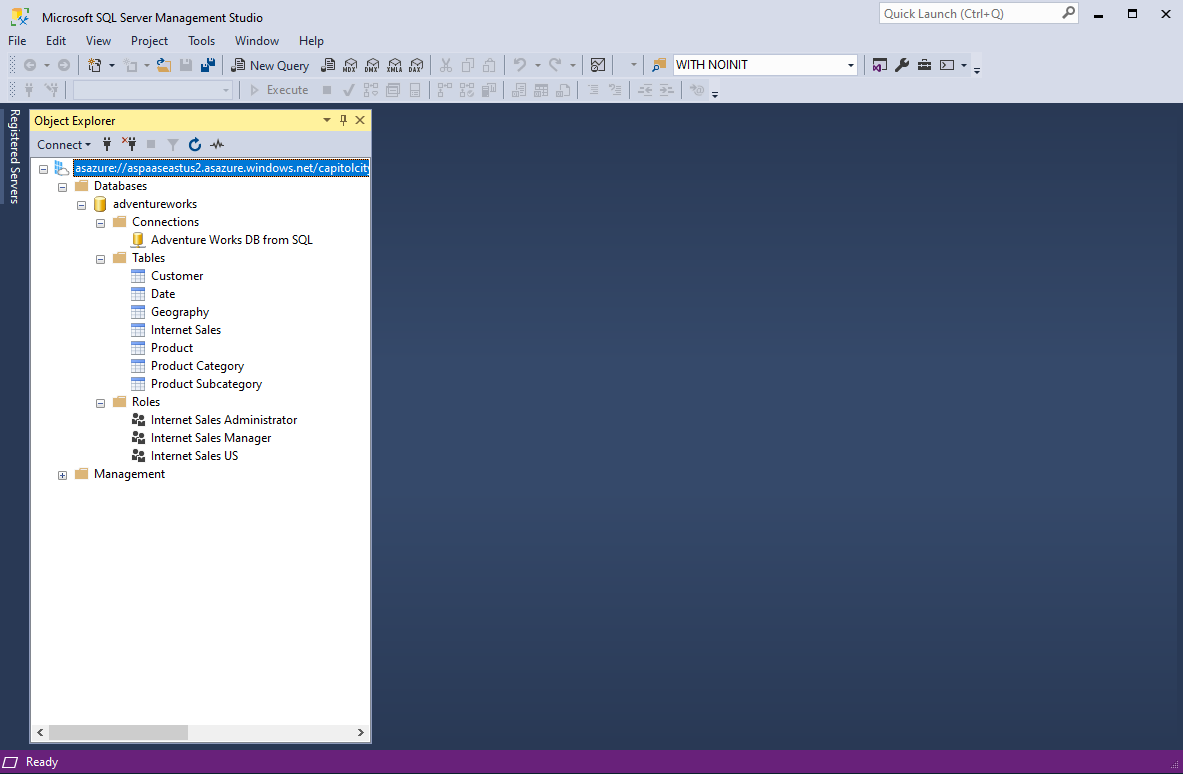 Step 13d – View Azure Analysis Services Database in SSMS – All Nodes Expanded – Observe Available / Deployed Objects | ||
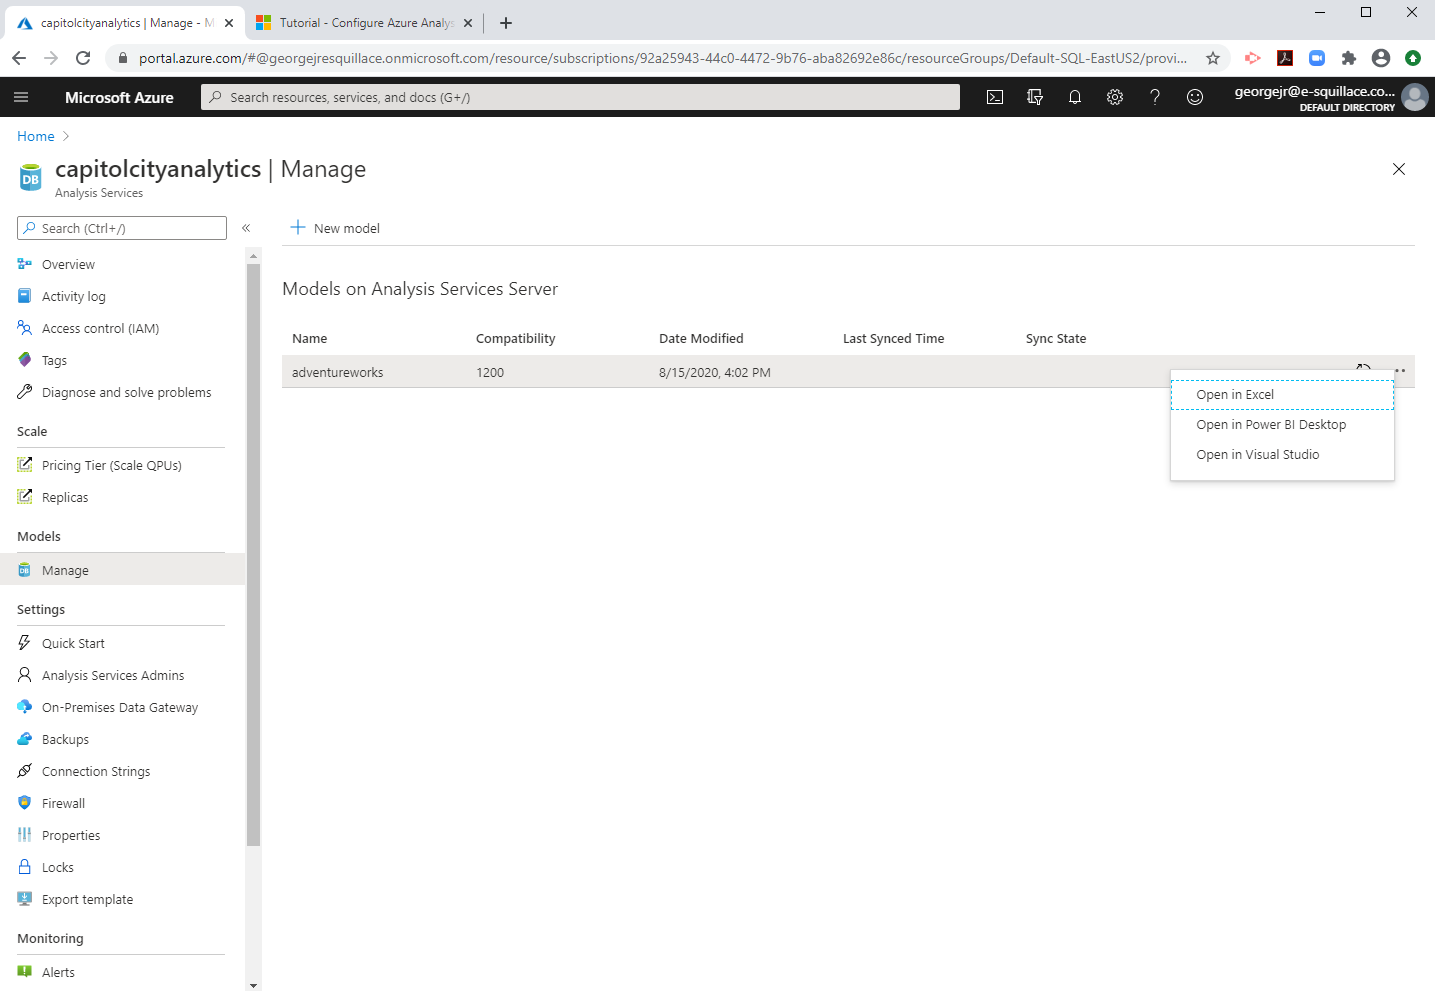 Step 14 – Click on the Ellipsis of the Selected Model – Choices are “Open in Excel”, “Open in Power BI Desktop”, and “Open in Visual Studio” Choose “Open in Power BI Desktop” | 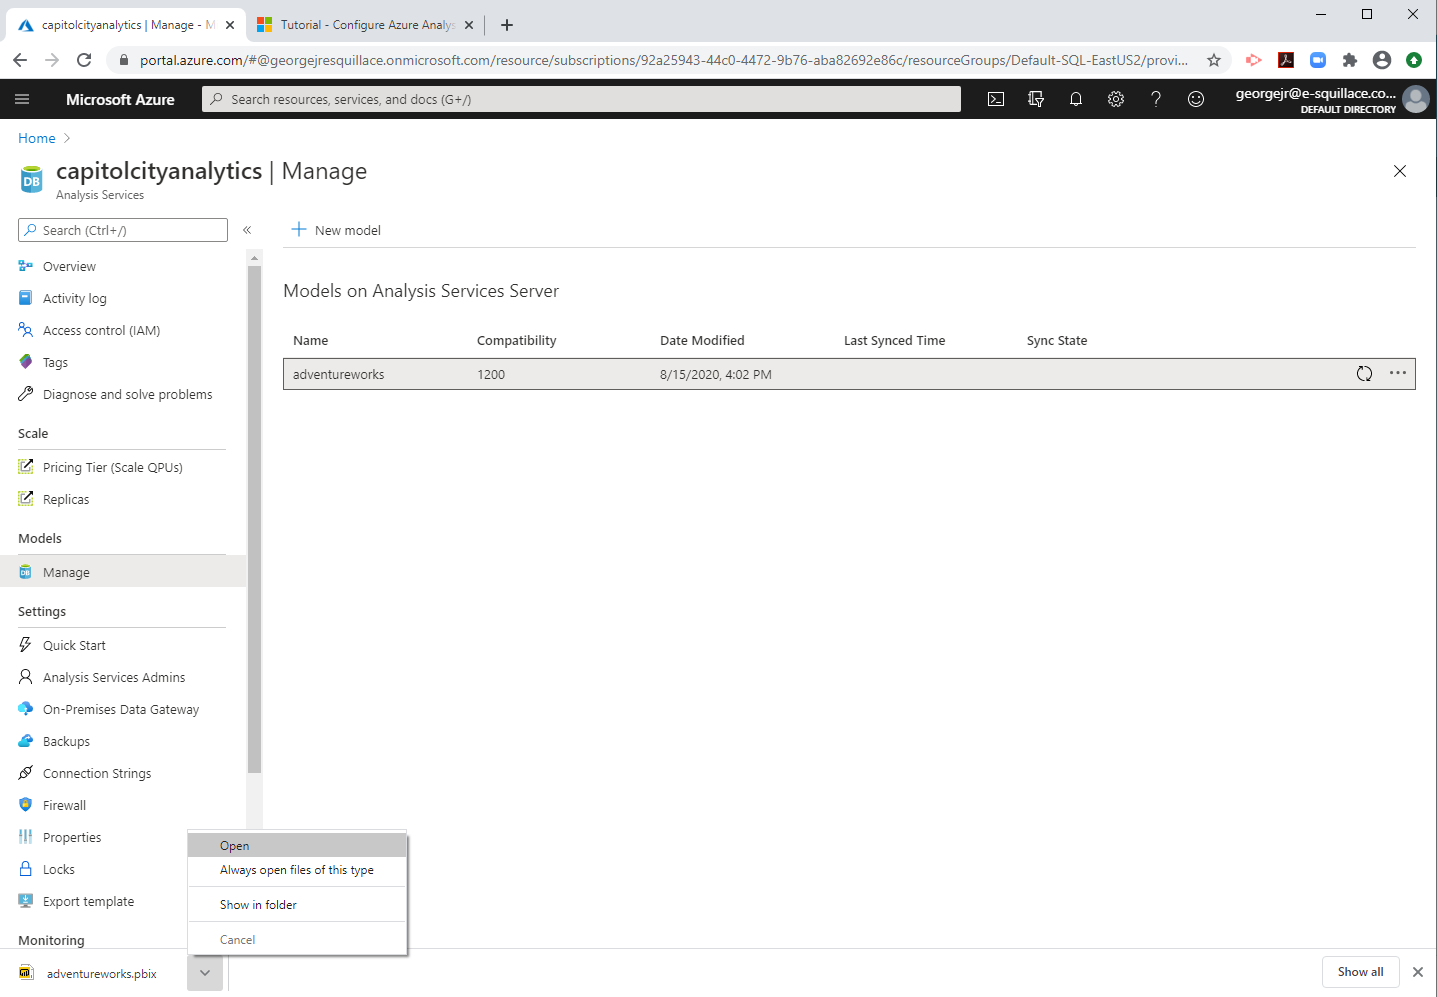 Step 15 – Observe the auto-generated .PBIX File – Download Produced, click on the Chevron and choose “Open” | 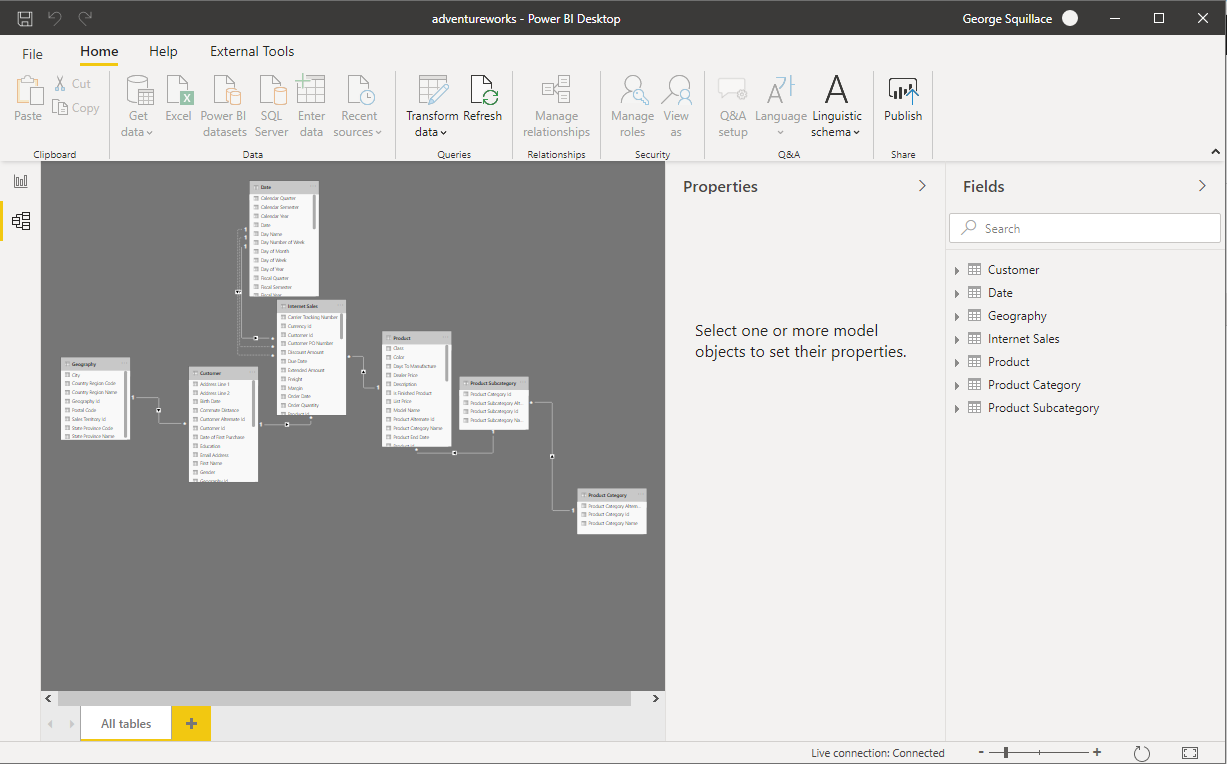 Step 16 – Power BI Desktop – Model View – Notice No Data View in the Workspace pane and Live Connection: Connected |
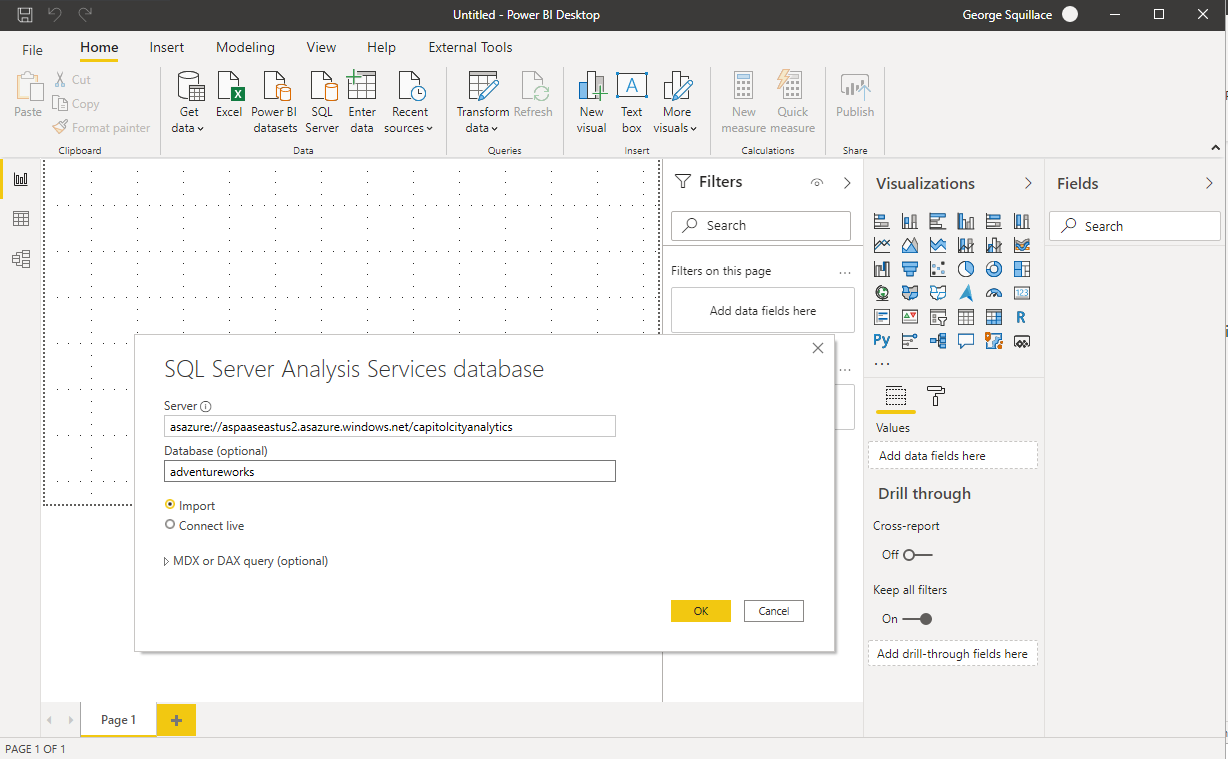
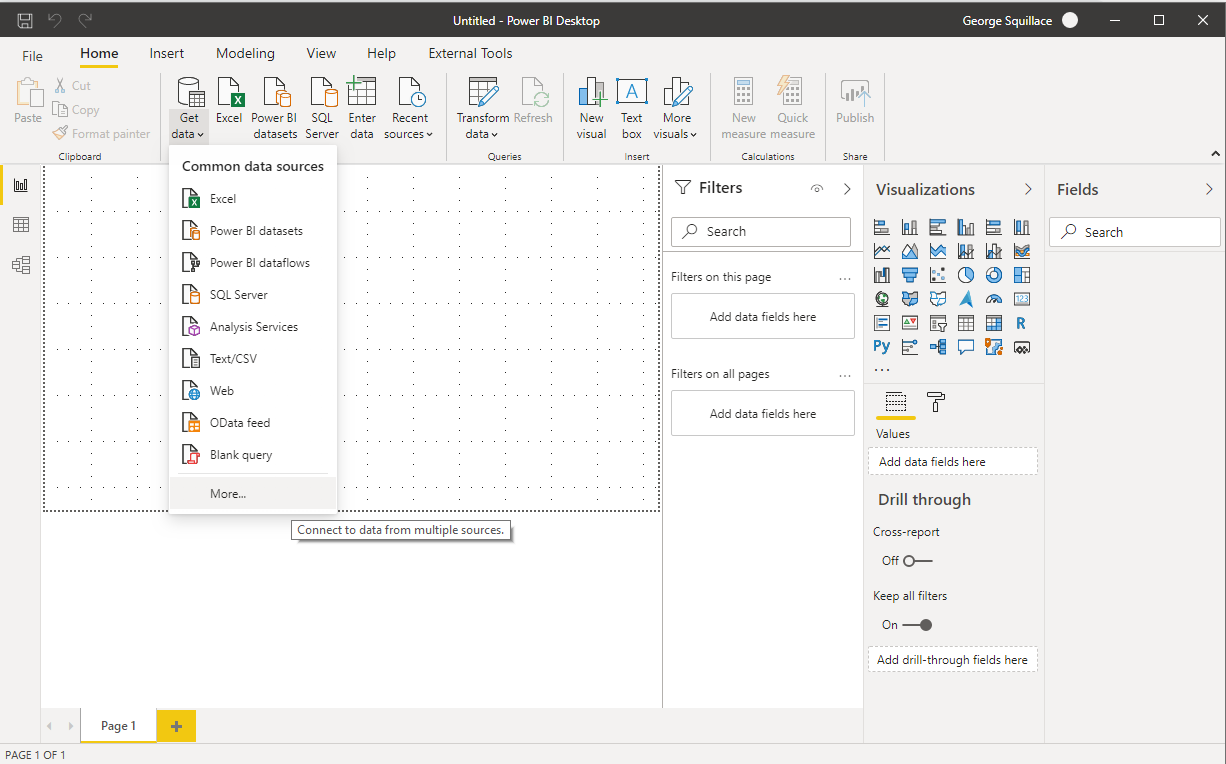 Step 17a – Connect From Power BI Desktop – Get Data – More |  Step 17b – Connect From Power BI Desktop – Azure section – Azure Analysis Services Database then click on “Connect” |  Step 17c – Connect From Power BI Desktop – Supply Server URL as seen above – Connect live chosen, click on “OK” Both “Import” and “Connect live” are supported as documented here, although Import has limitations |
 Step 17d – Connect From Power BI Desktop – Pick Account | 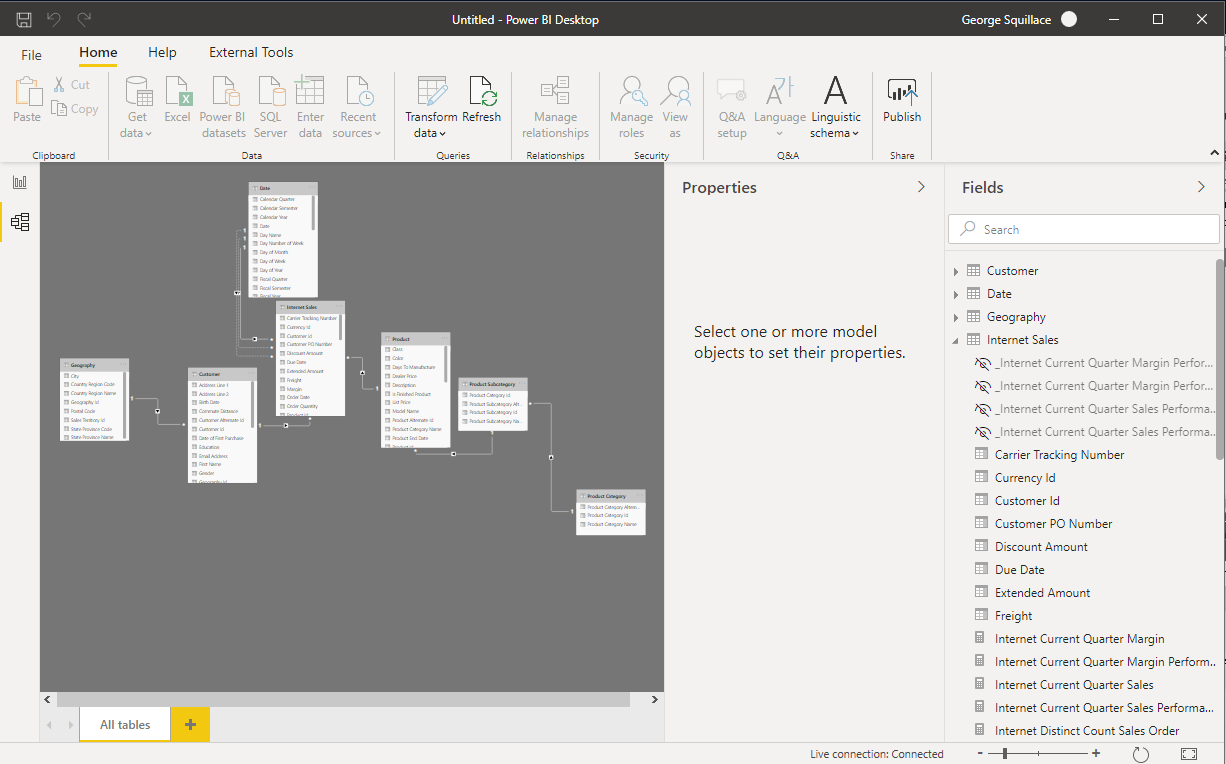 Step 17e – Connect From Power BI Desktop – Model View – No Data View – Live Connection as seen above | |
 Step 18a – Connect From Power BI Desktop – Get Data -Supply Server And Database Names – this time, try “Import” | 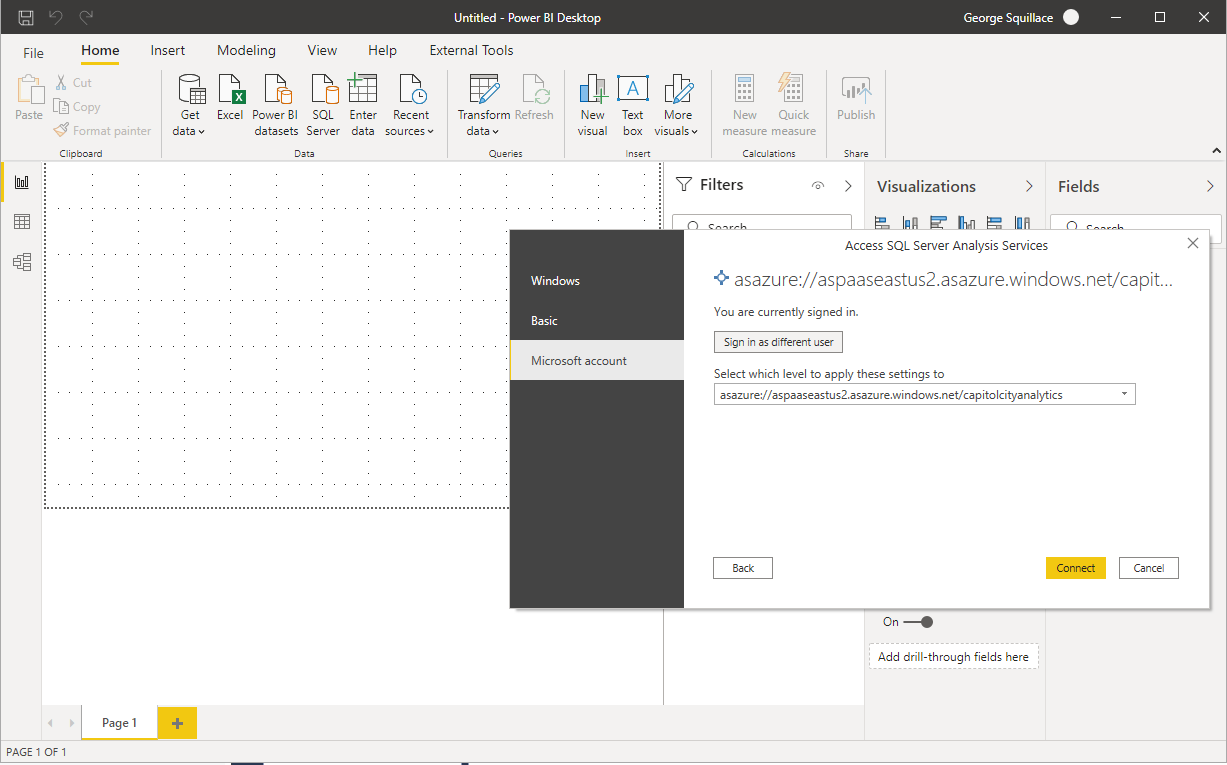 Step 18b – Connect From Power BI Desktop – Must Use Microsoft Account | 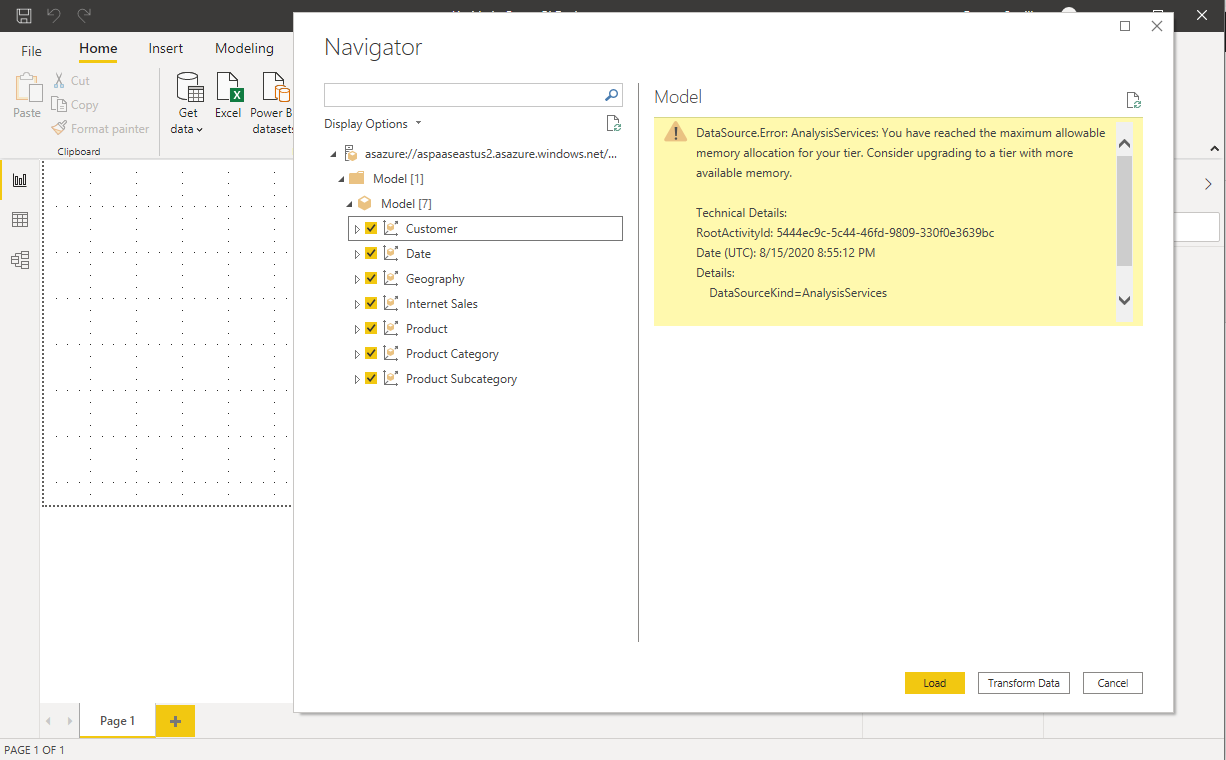 Step 18c – Connect From Power BI Desktop – Navigator List Of Objects – All available objects selected – Resulting Memory Allocation / Tier Error |
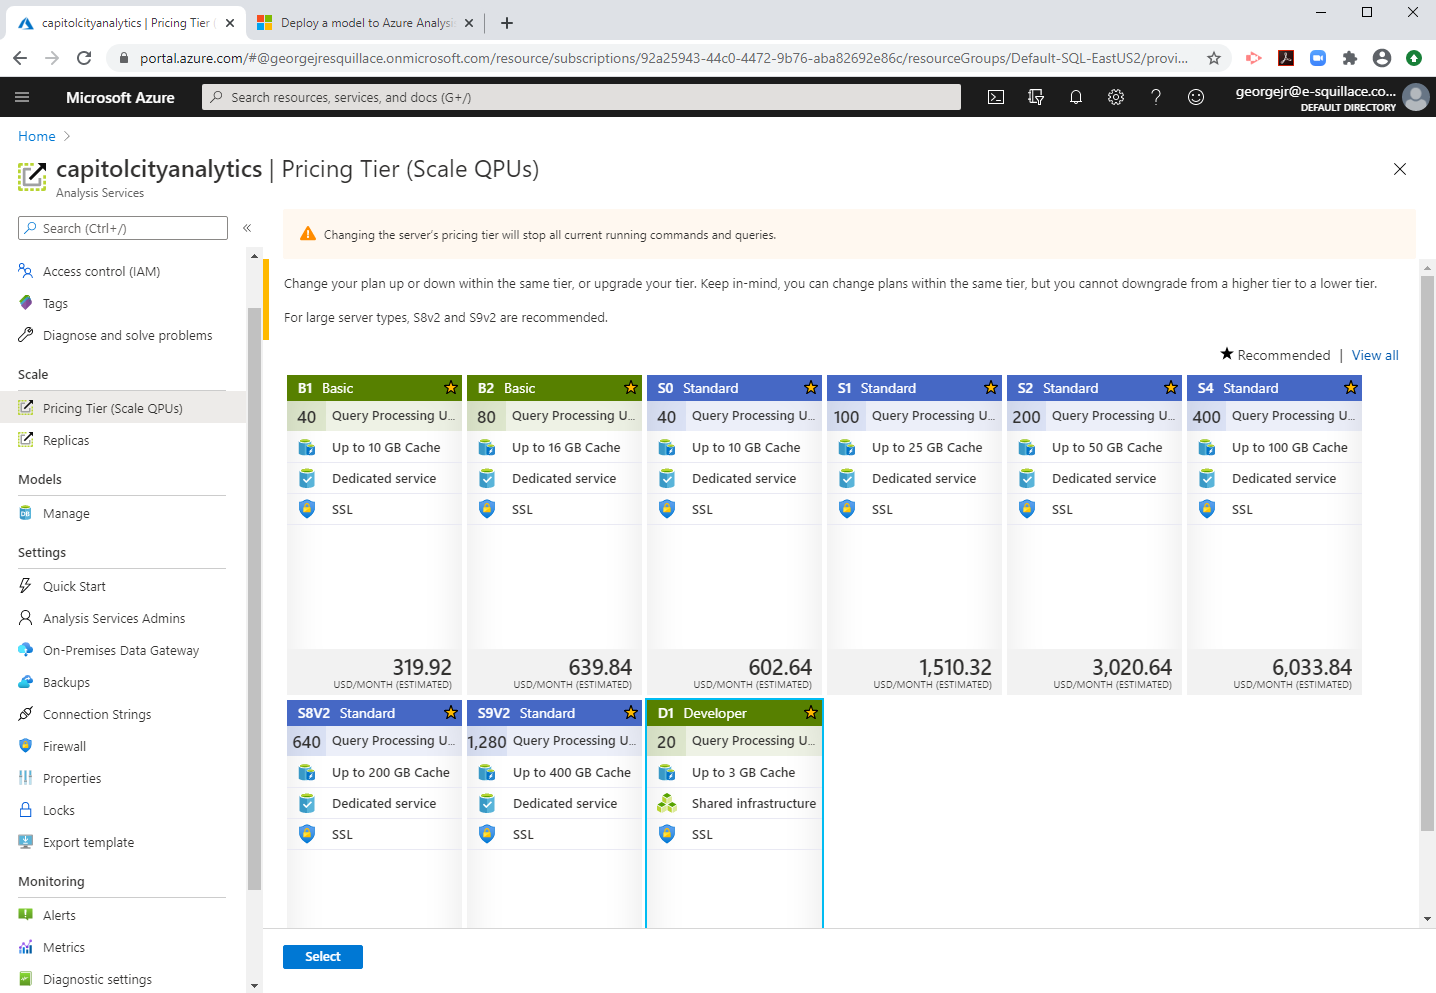 Step 19a – Scale section, Pricing Tier (Scale QPUs) page – Select B2 – B1 Didn’t Appear to Work at first, but actually did | 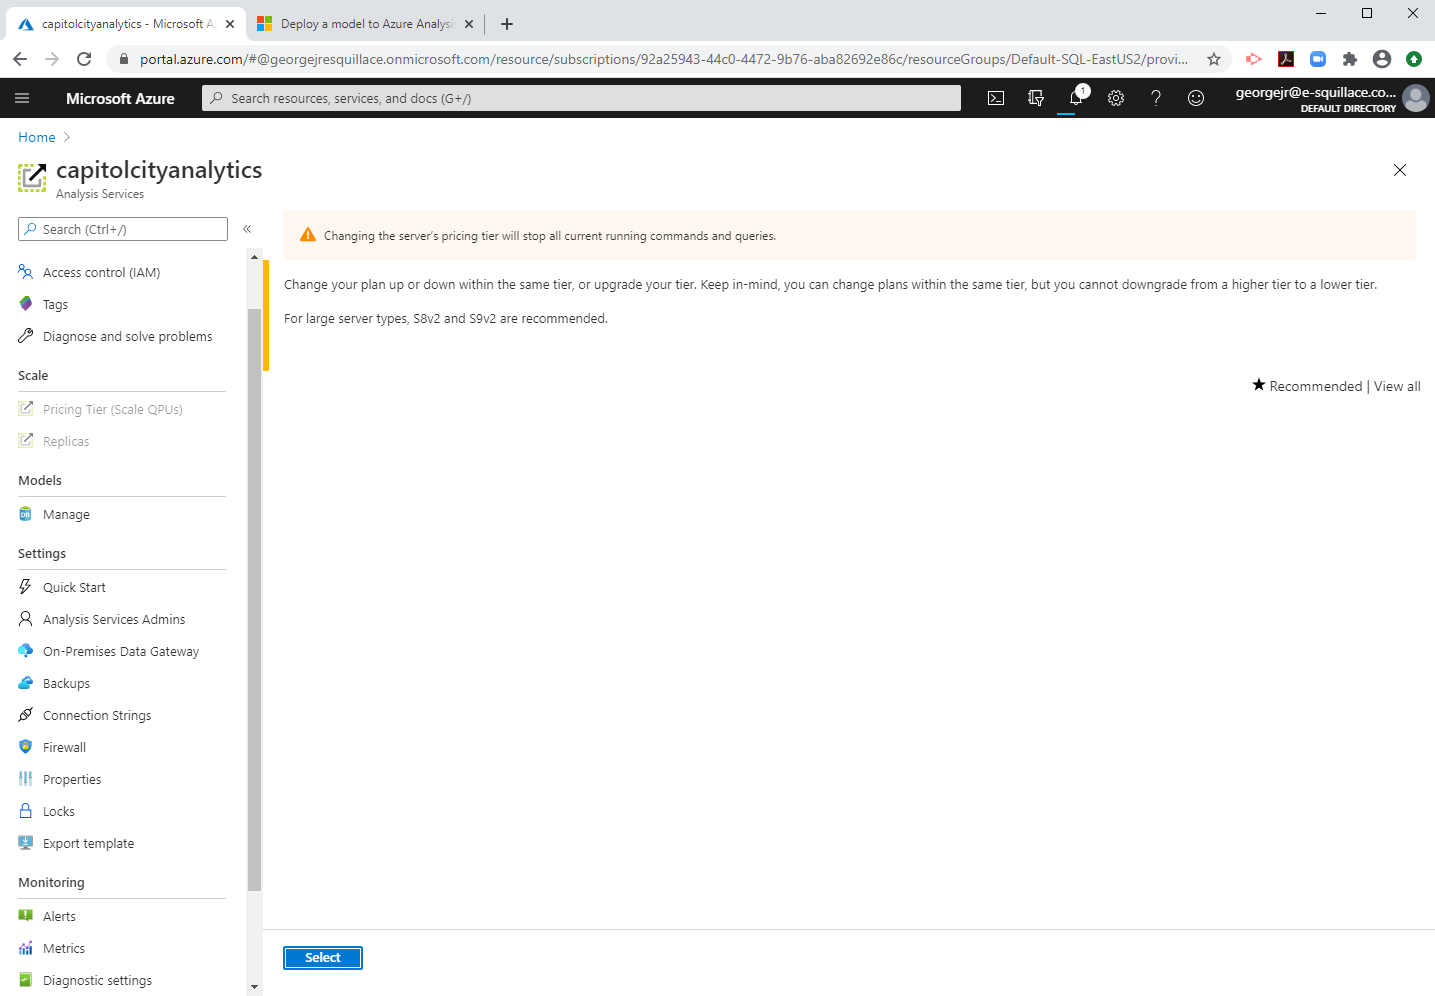 Step 19b – Explore Pricing Tiers – Confirm Selection Alert, warning regarding current running command and queries, and tier switching restrictions | 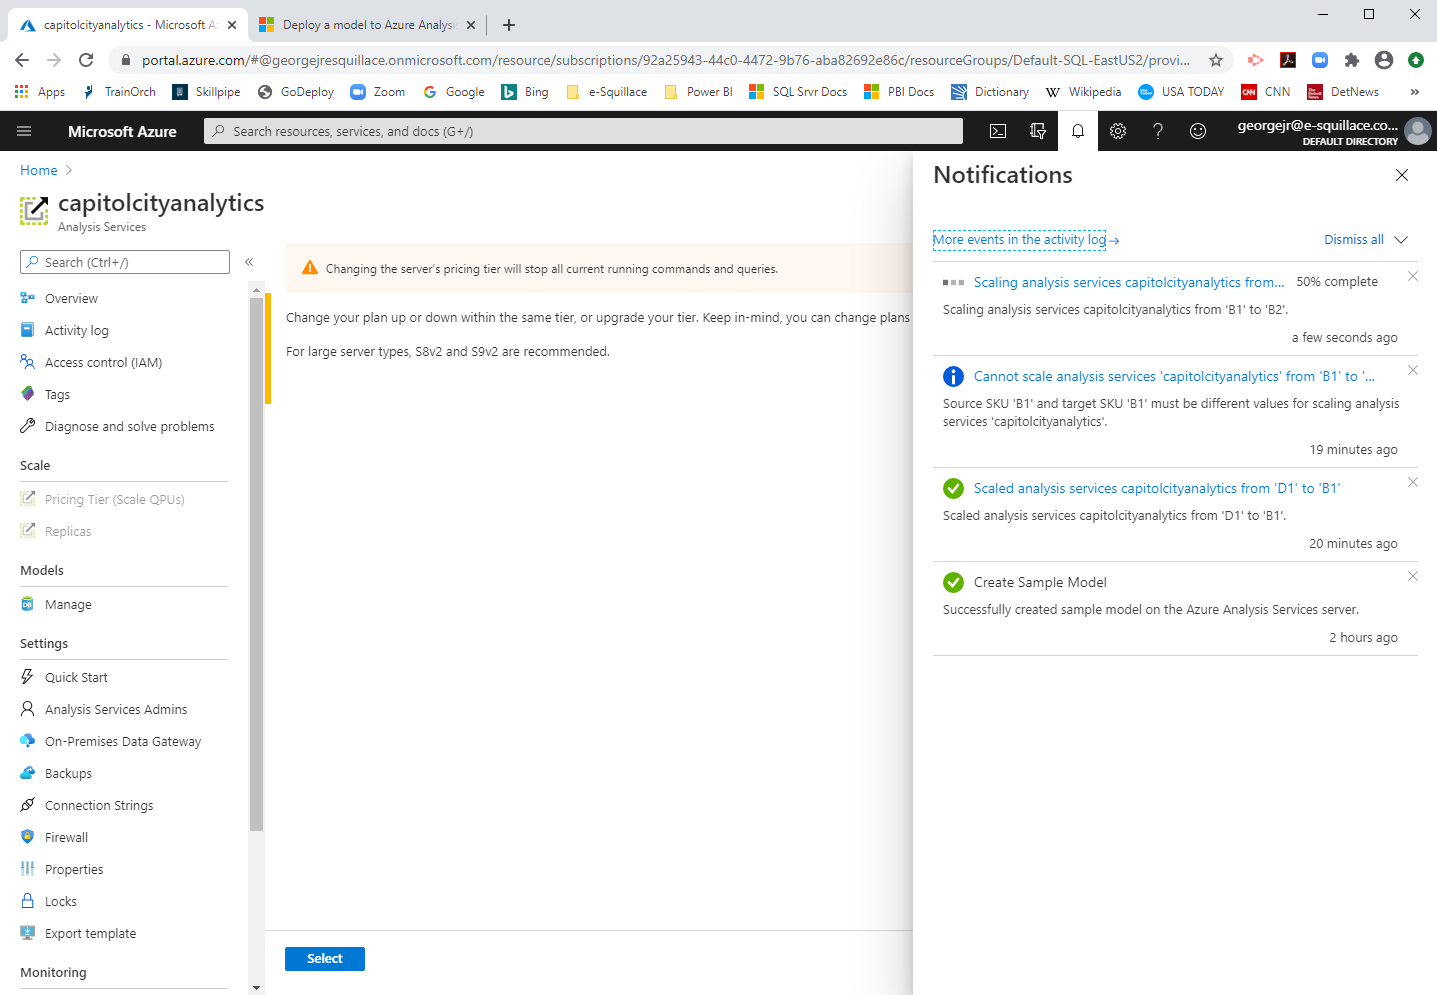 Step 19c – Explore Pricing Tiers – Scaling in Progress |
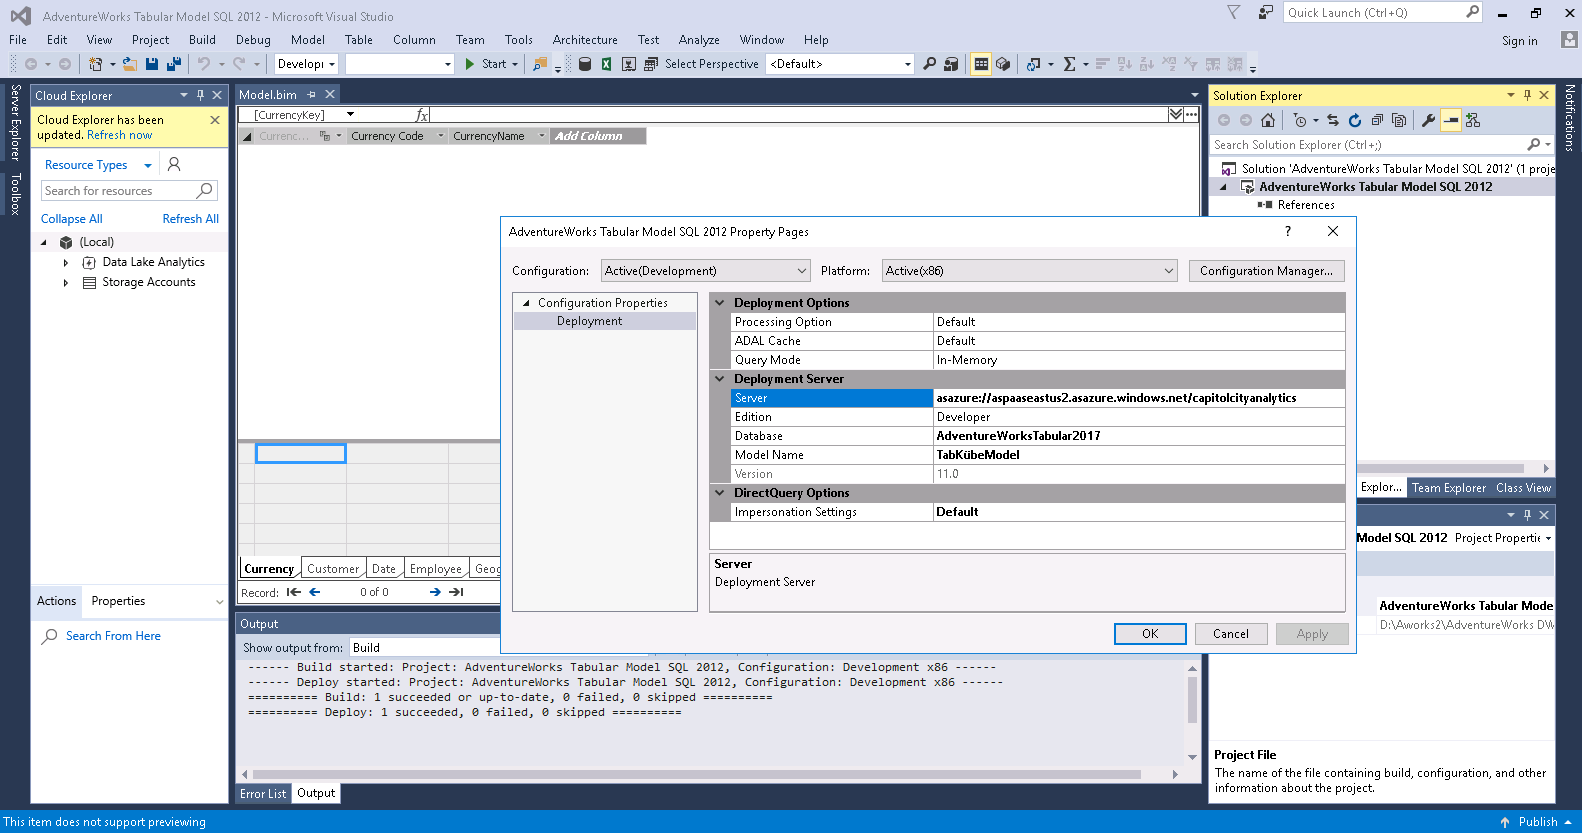 Step 20a – Deployment Properties from Visual Studio Documentation reference here |  Step 20b – User Account Prompt – a database was created but was not populated with any objects |