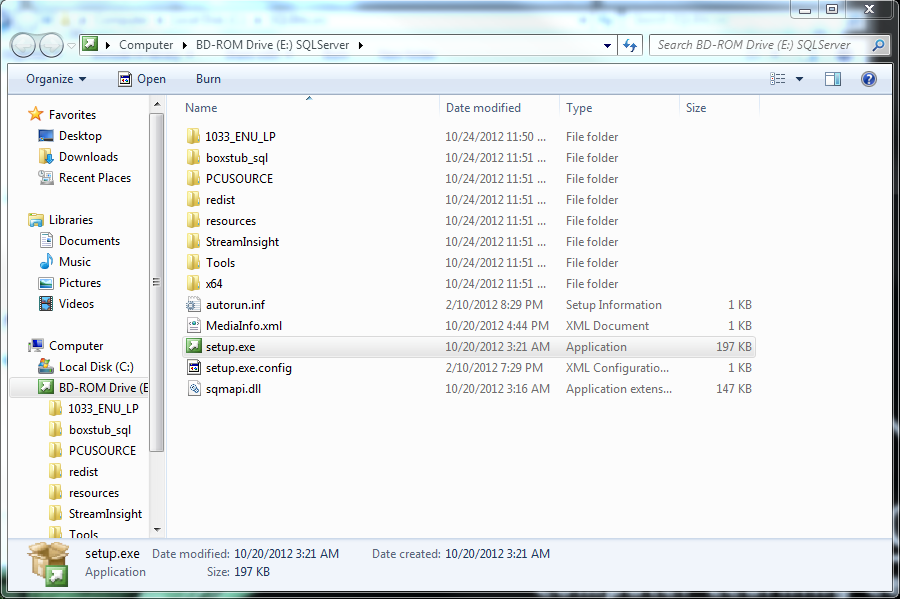
 Step 1 – Launch Setup | 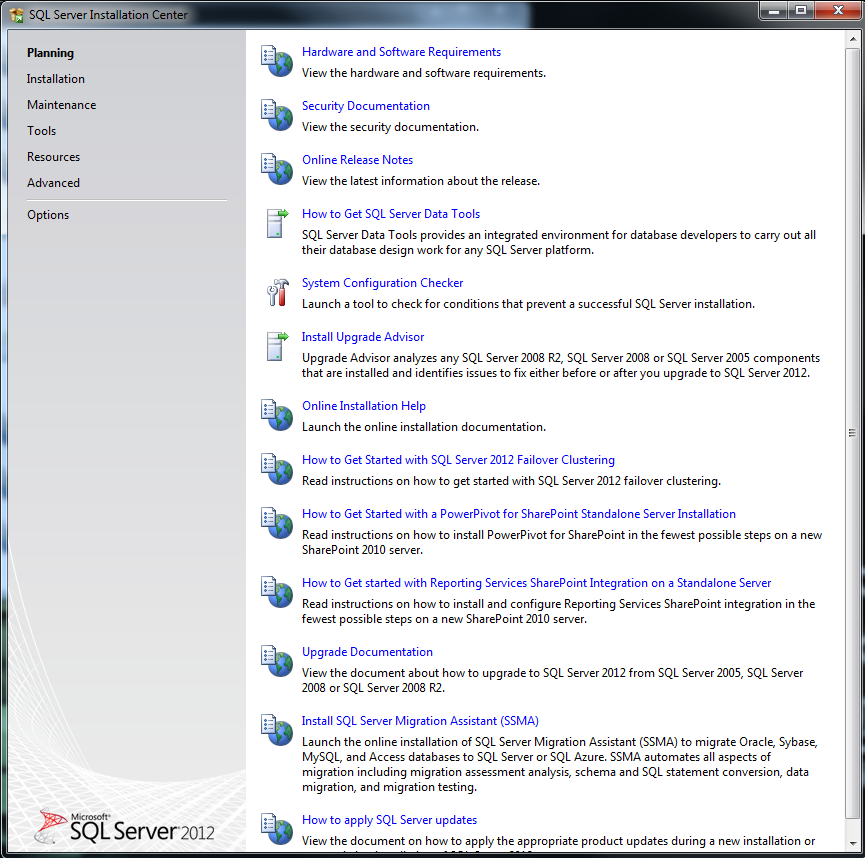 Step 2a – Installation Center, Planning page |
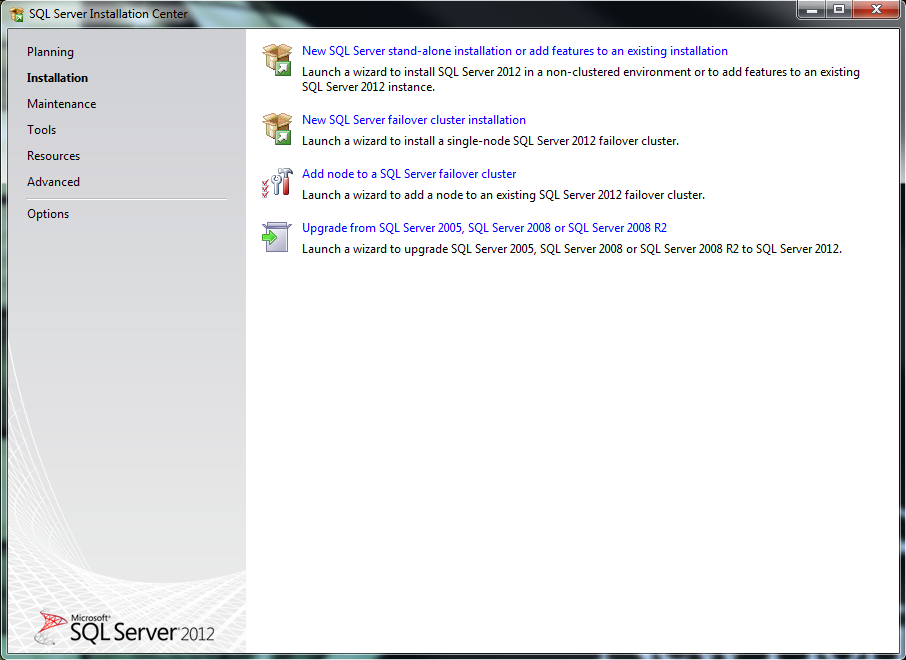 Step 2b – Installation Center – Installation Page | 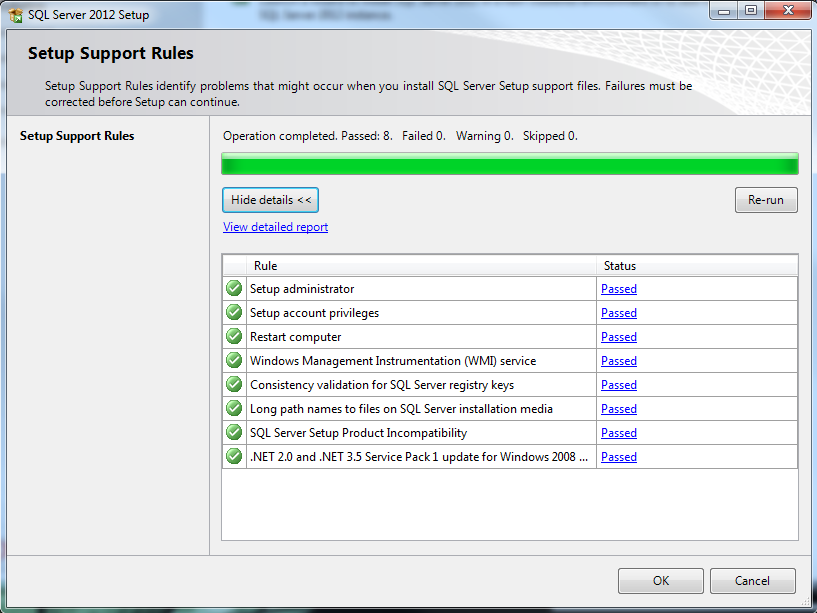 Step 3 – Setup Support Rules |
 Step 4 – Product Key | 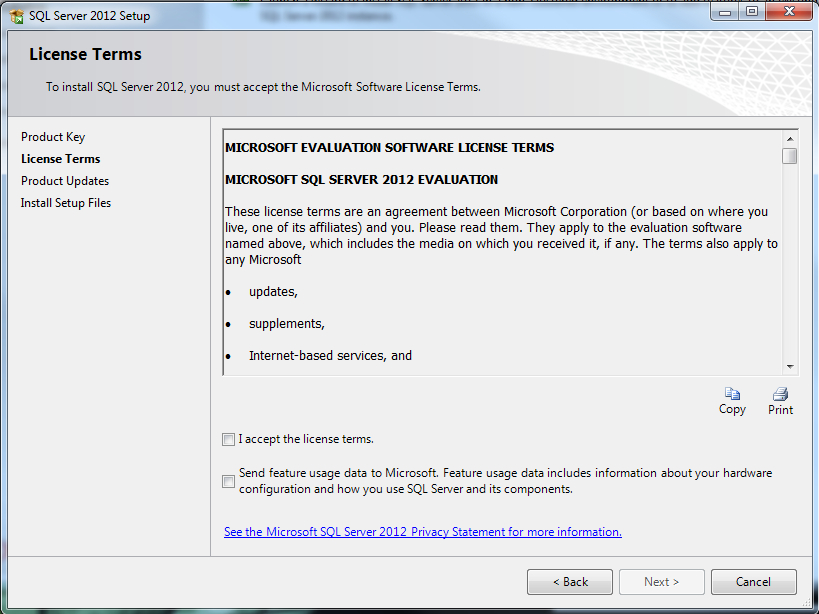 Step 5 – License Terms |
 Step 6 – Product Updates |  Step 7 – Setup Support Rules {Completed} |
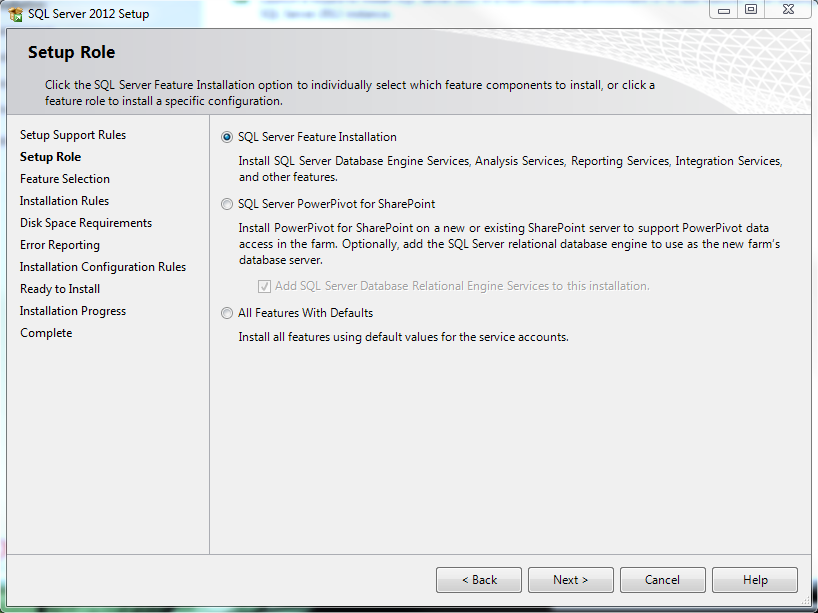 Step 8 – Setup Role |  Step 9a – Feature Selection (IF “SQL Server PowerPivot for SharePoint was selected as the Setup Role) |
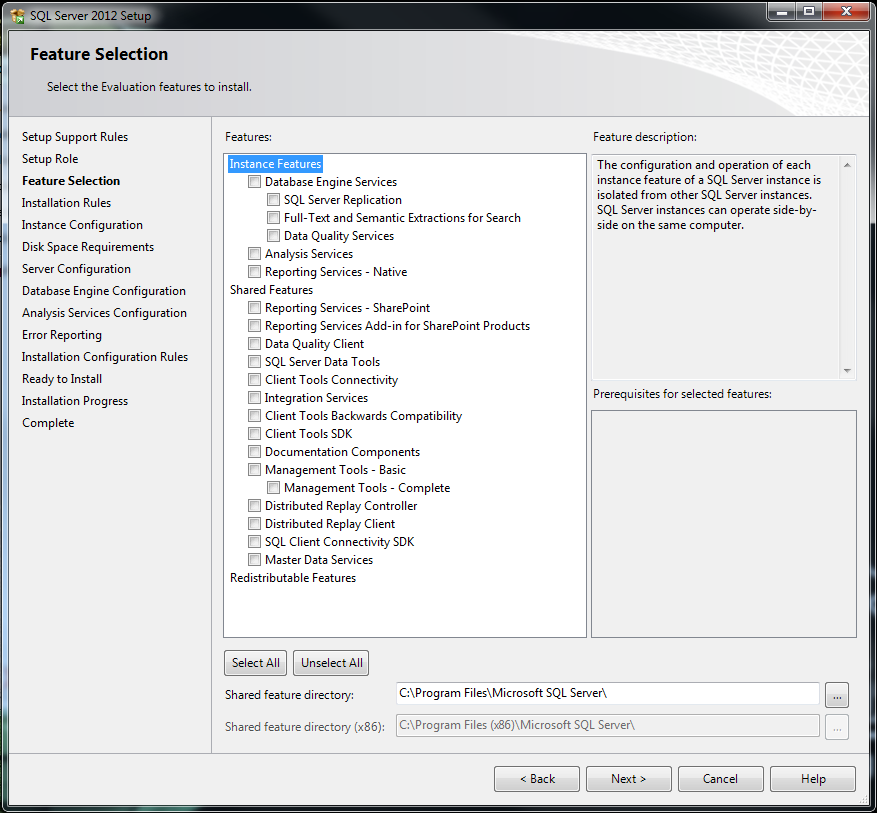 Step 9a – Feature Selection (IF “SQL Server Feature Installation” was selected as the Setup Role) | 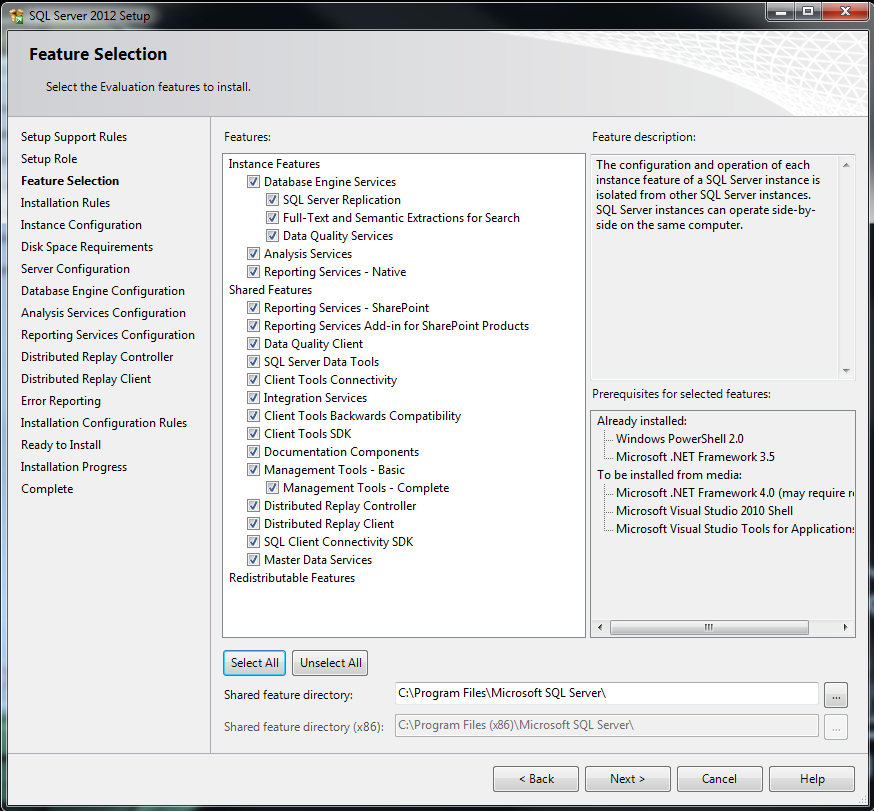 Step 9b – Feature Selection (all Features selected) |
 Step 10 – Installation Rules – Passed |  Step 11 – Instance Configuration {curious, Instance name is limited to 16 characters} |
Step 12 – Disk Space requirements |  Step 13a – Server Configuration page, Service Accounts TAB {defaults}. |
 Step 13aa – Server Configuration page, Service Accounts TAB {Accounts assigned}. | 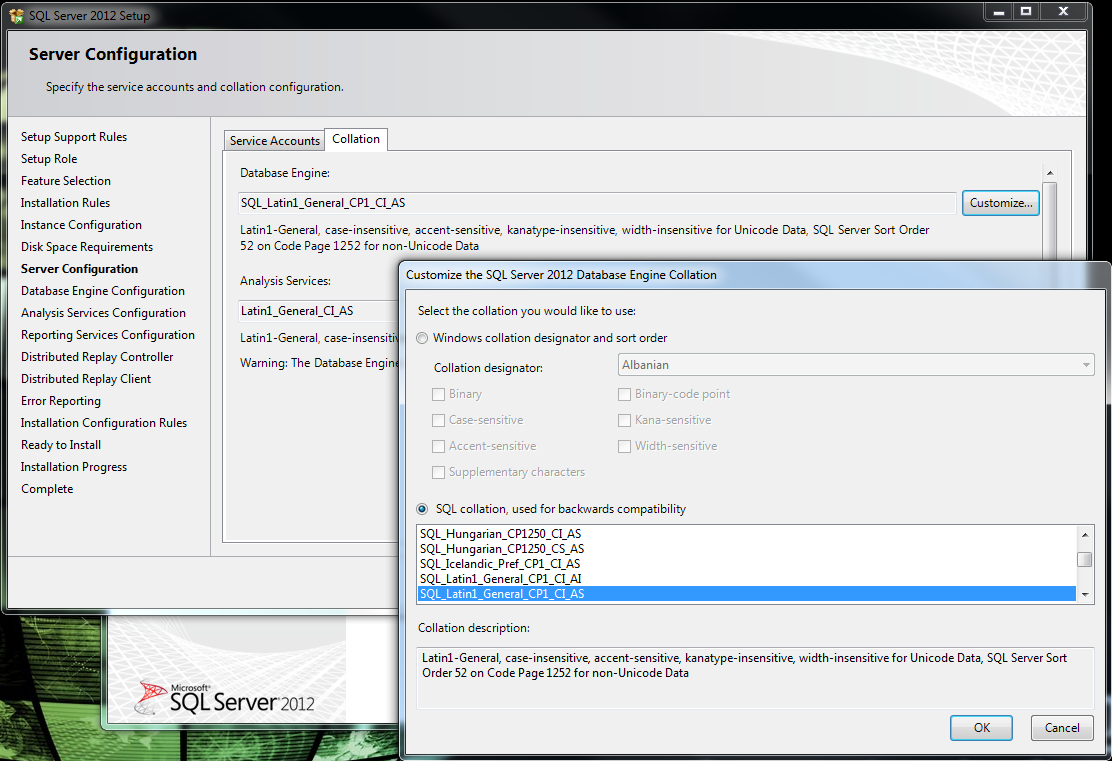 Step 13b – Server Configuration page, Collation TAB {defaults}. |
 Step 14a – Database Engine Configuration page, Server Configuration TAB, before. | 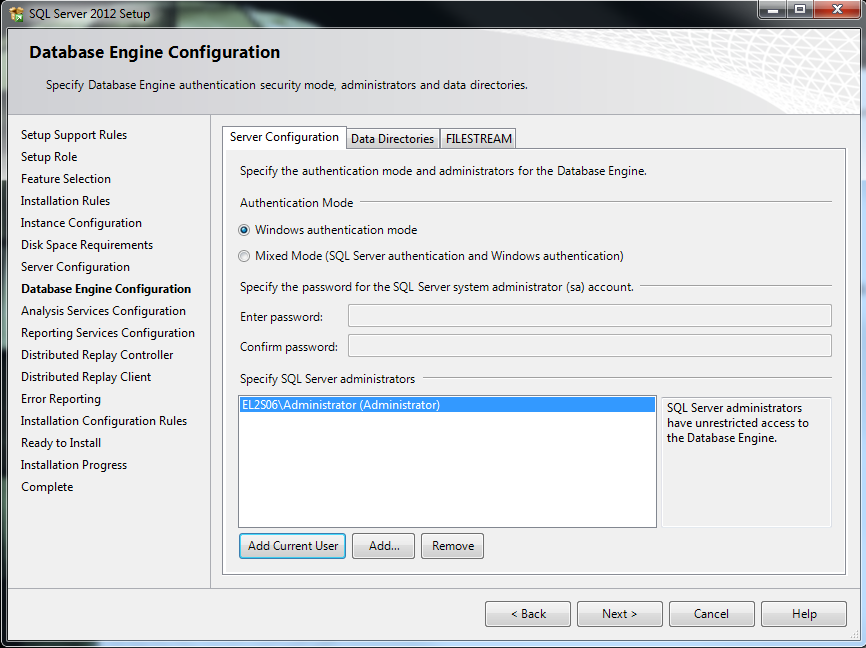 Step 14b – Database Engine Configuration page, Server Configuration TAB, administrator assigned. |
 Step 14c – Database Engine Configuration page, Data Directories TAB {defaults}. |  Step 14d – Database Engine Configuration page, FILESTREAM TAB {defaults}. |
 Step 15a – Analysis Services Configuration page, Server Configuration TAB {defaults}. | 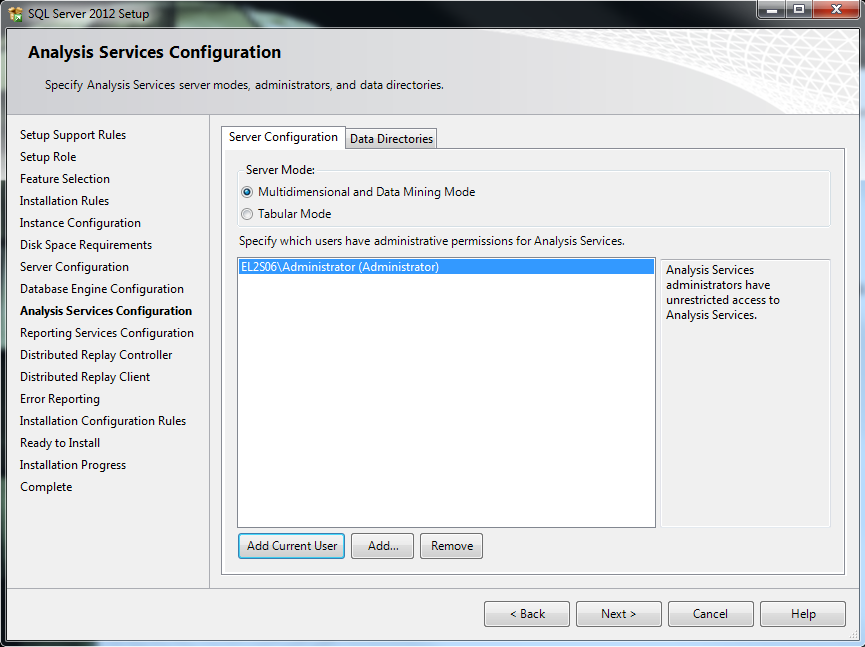 Step 15b – Analysis Services Configuration page, Server Configuration TAB {administrator specified}. |
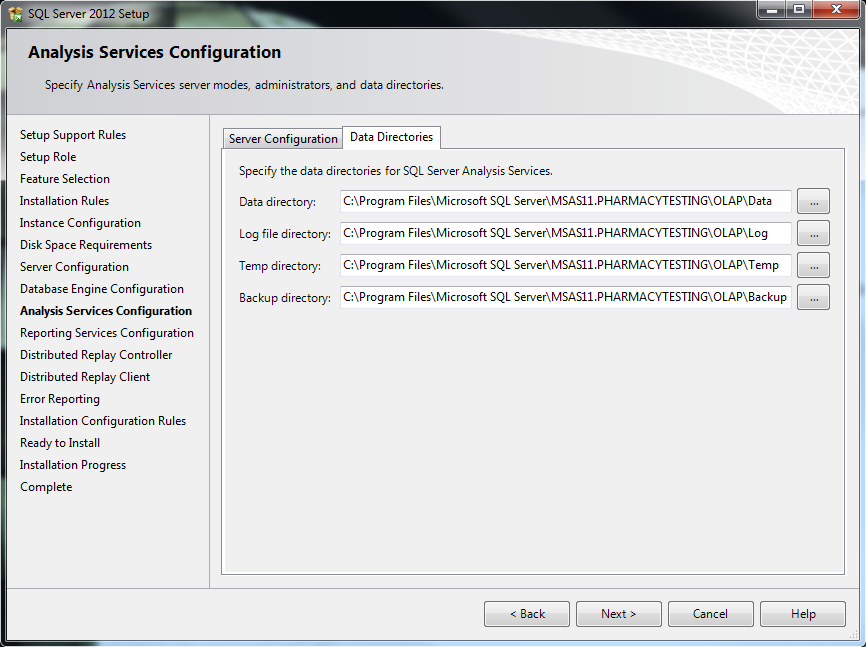 Step 15c – Analysis Services Configuration step, Data Directories TAB {defaults}. |  Step 16 – Reporting Services Configuration page. |
 Step 17 – Distributed Replay Controller page. {No input is required} |  Step 18 – Distributed Replay Client page {defaults}. {No input required} |
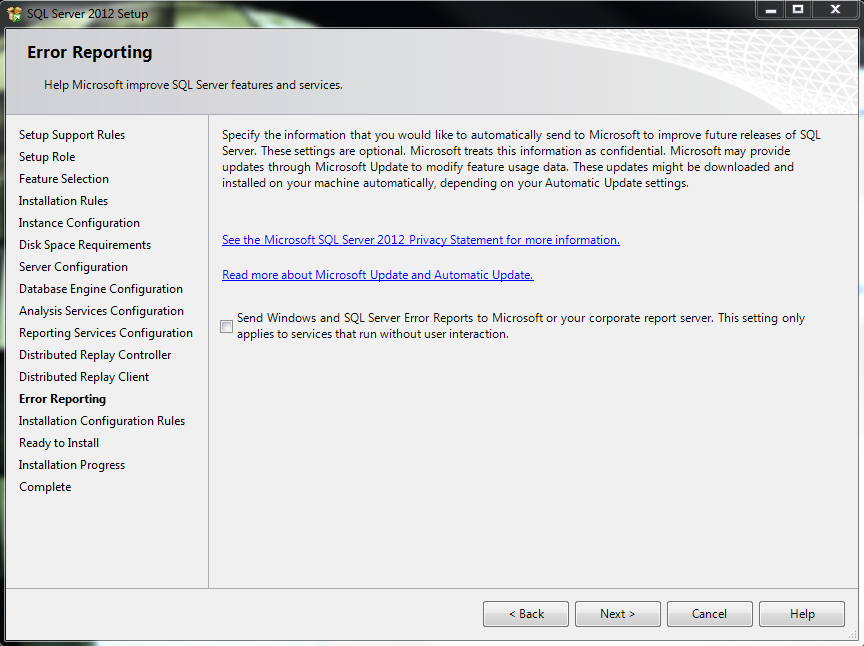 Step 19 – Error Reporting page {defaults}. |  Step 20 – Installation Configuration Rules page. |
 Step 21 – Ready to Install page. | 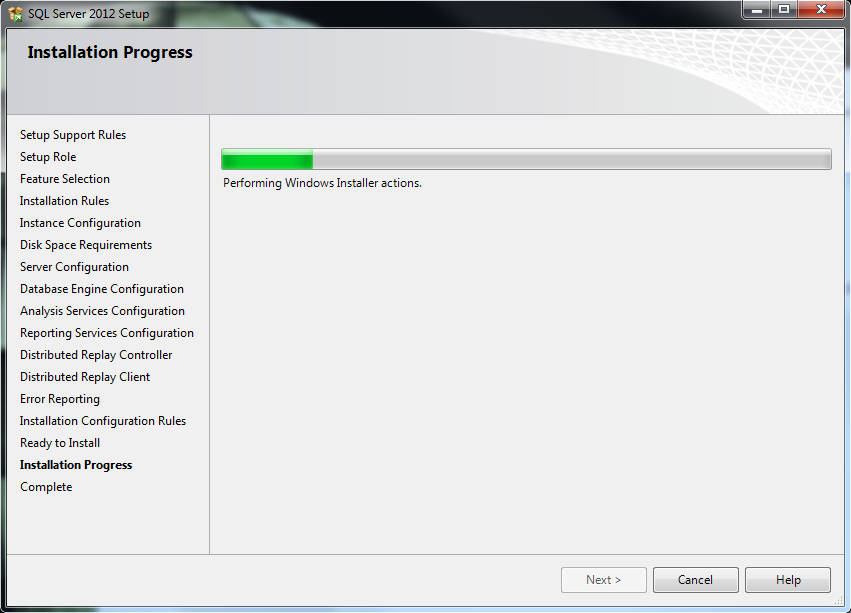 Step 22 – Installation Progress page. |
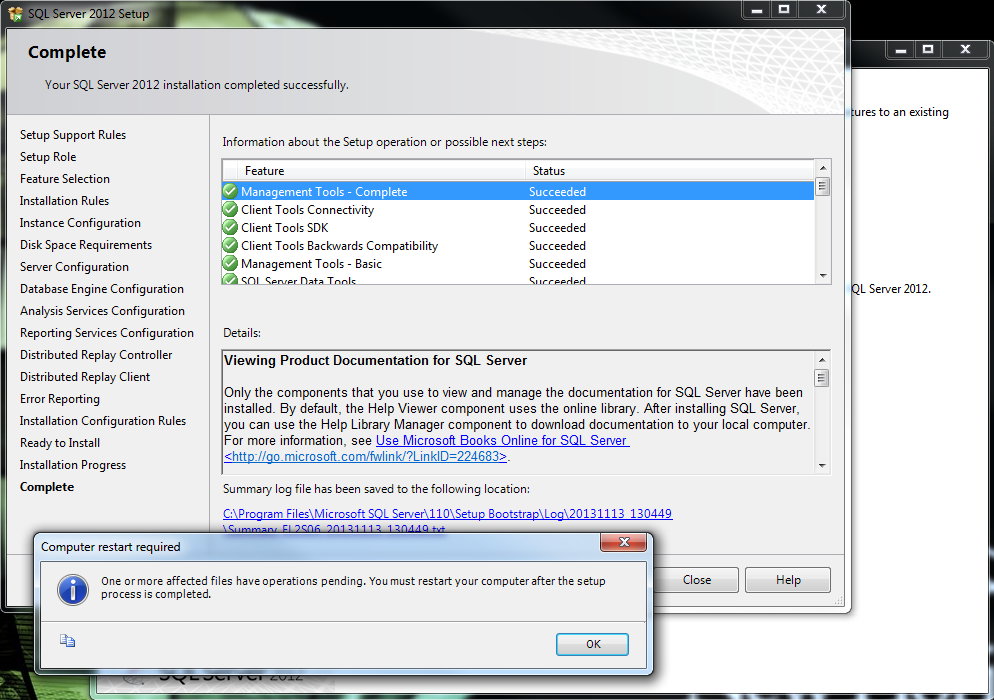 Step 23 – {Installation} Complete page. | 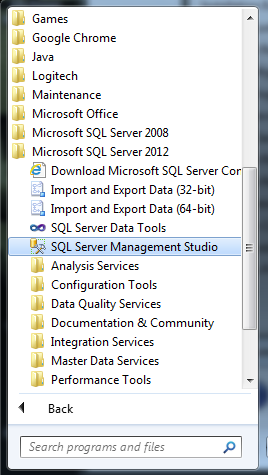 Start Menu, after SQL 2012 SP1 installation |