| Remember to disconnect any VPN connection you may have | In the worst case you may have to reboot your machine after disconnecting your VPN |
| After logging on at http://LMS.NHCMS.net click on the “My Training” link | 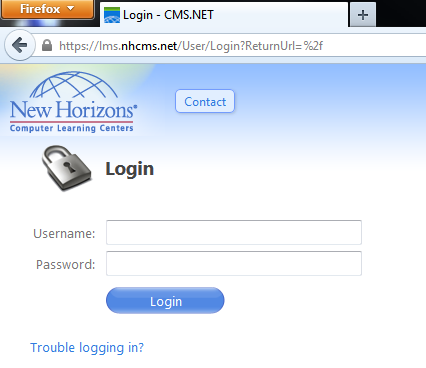 |
| Click on the link of the course containing the lab you wish to launch | 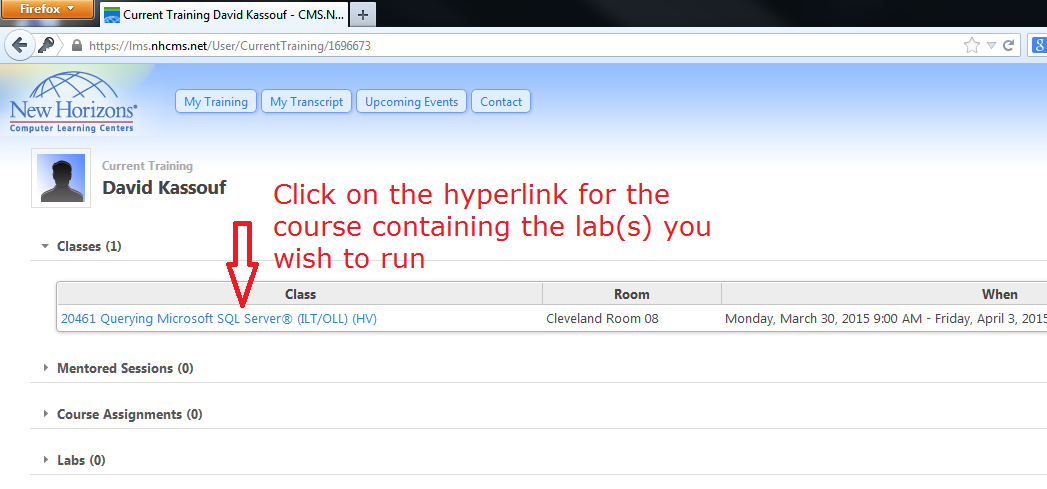 |
| Scroll through the list of available labs (look for the green Erlenmeyer flask icons |  |
| Progress and estimated launch time is displayed while the lab environment is launching | 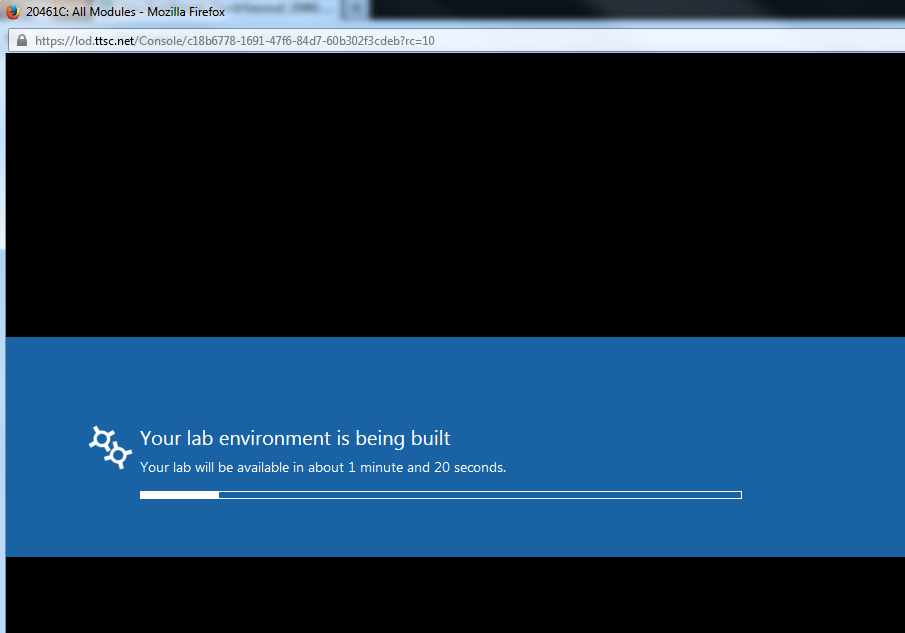 |
| Tip: Maximize your browser | |
| Make sure the correct virtual machine is selected | 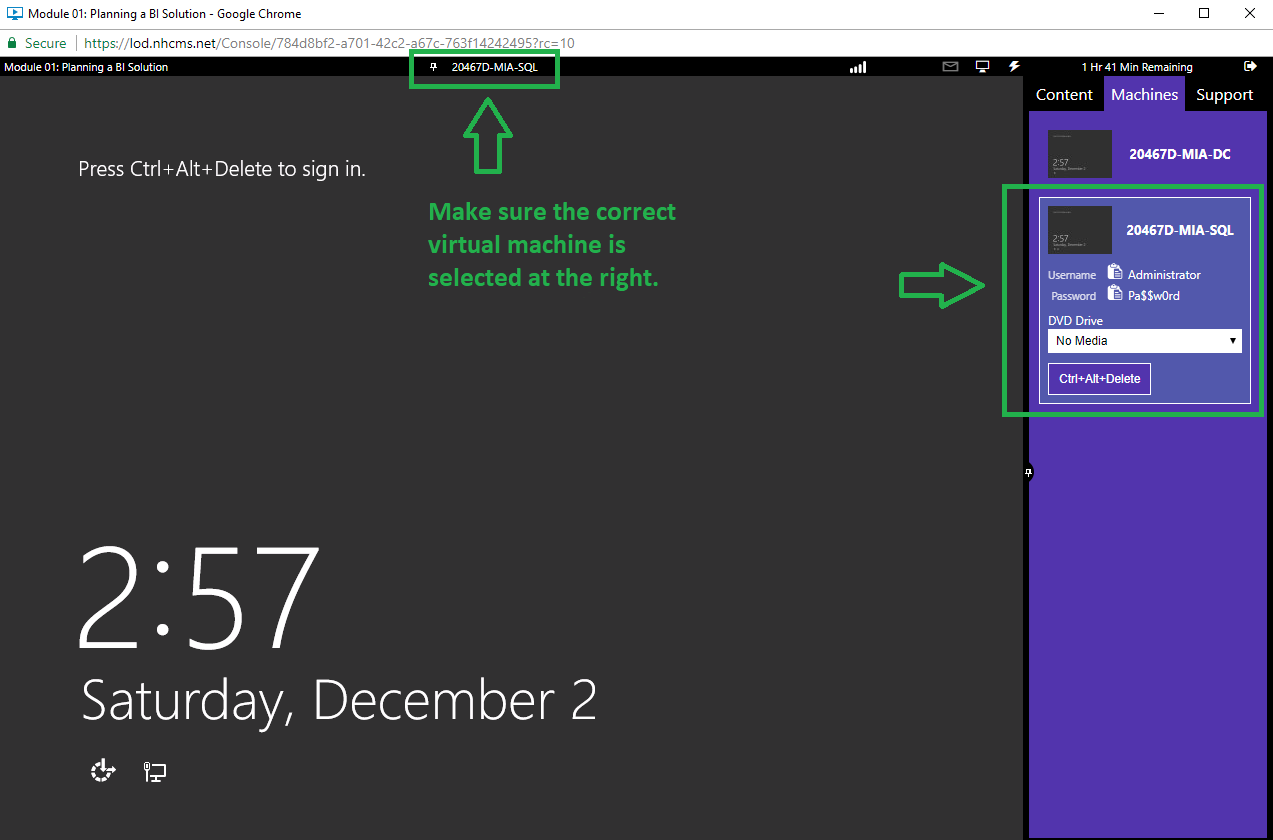 |
| There are two ways to initiate the logon sequence: [Best way] Use the “Commands” menu Use the Ctrl-Alt-End key combination. | 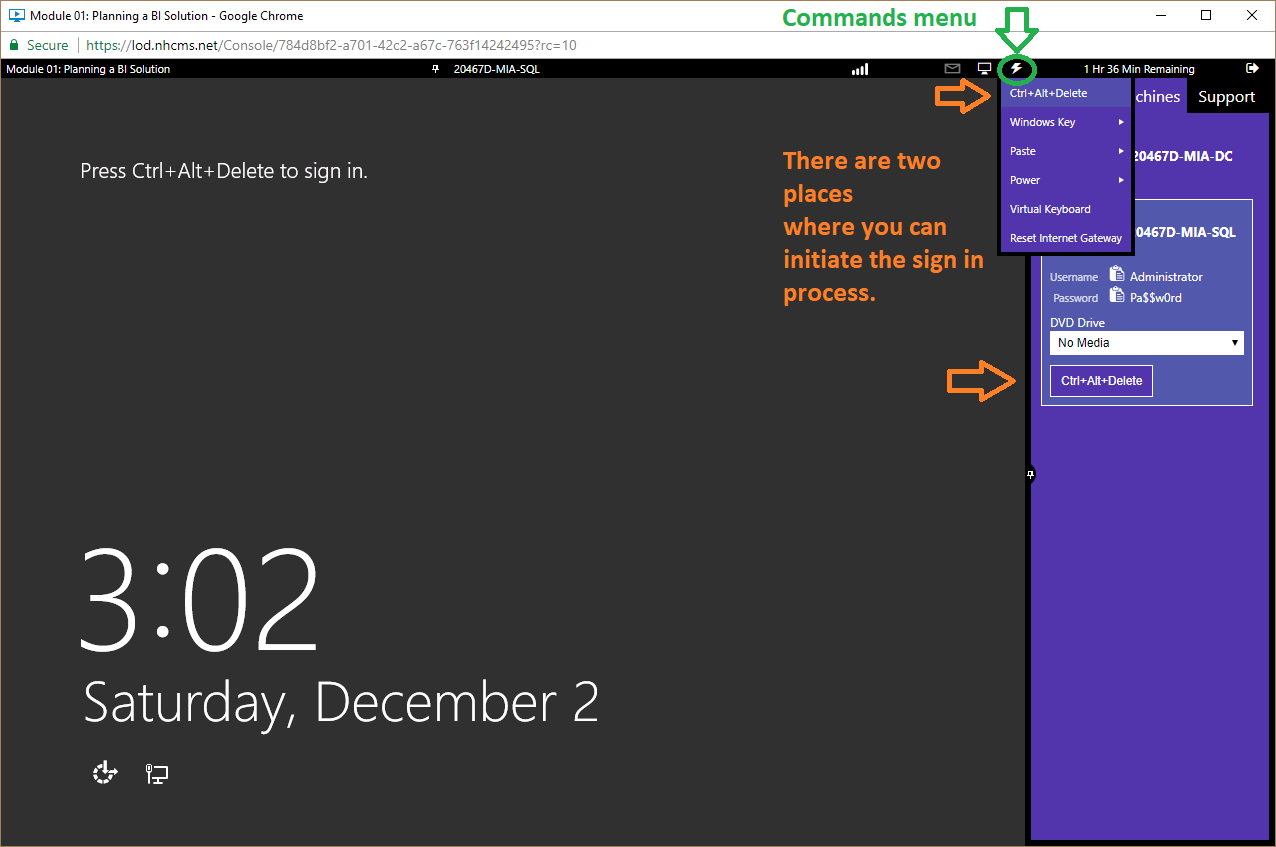 |
| There are two ways to supply a password into the virtual machine: [Best way] Use the “Commands” menu at the top of the Lab on Demand environment. Choose “Paste” and then “Paste Password” You may manually enter the virtual machine password, which, for Microsoft courses, is always “Pa$$w0rd“ |  |
| Select other user screen Alternate username manually specified |  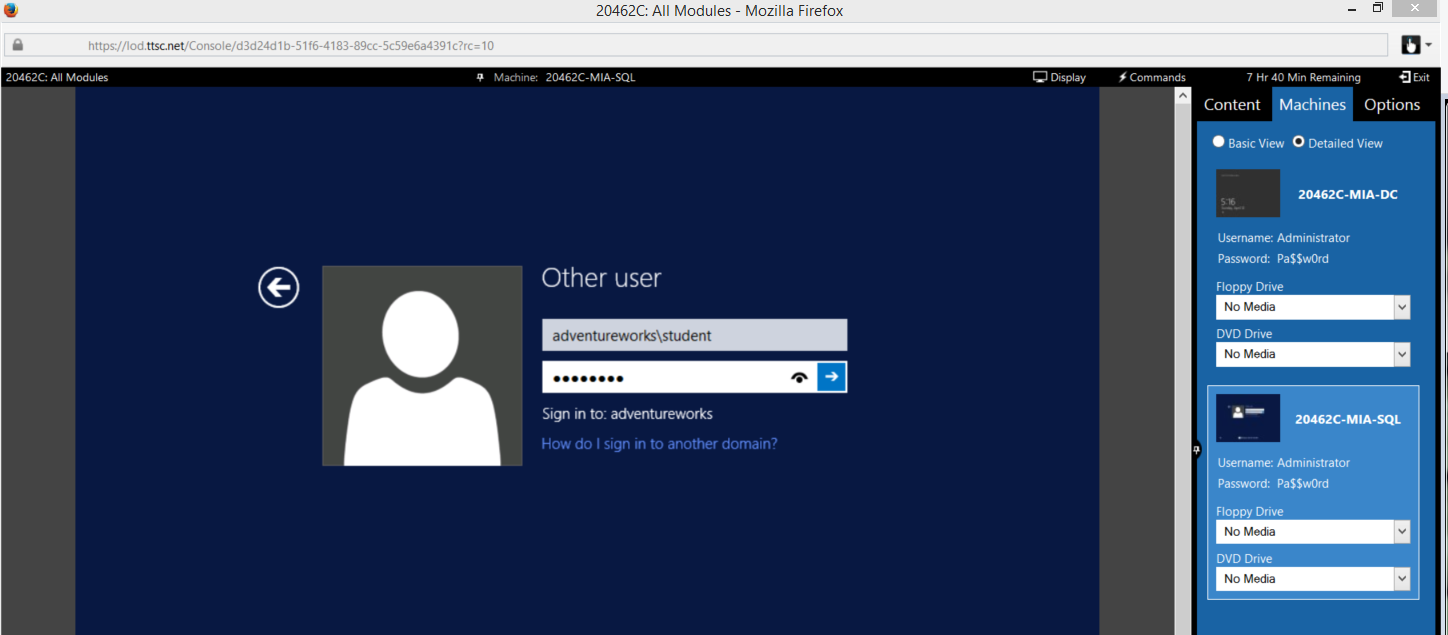 |
| Virtual machine usage suggestion: turn off combining Taskbar buttons in Taskbar settings Right click on the Taskbar to change the setting | 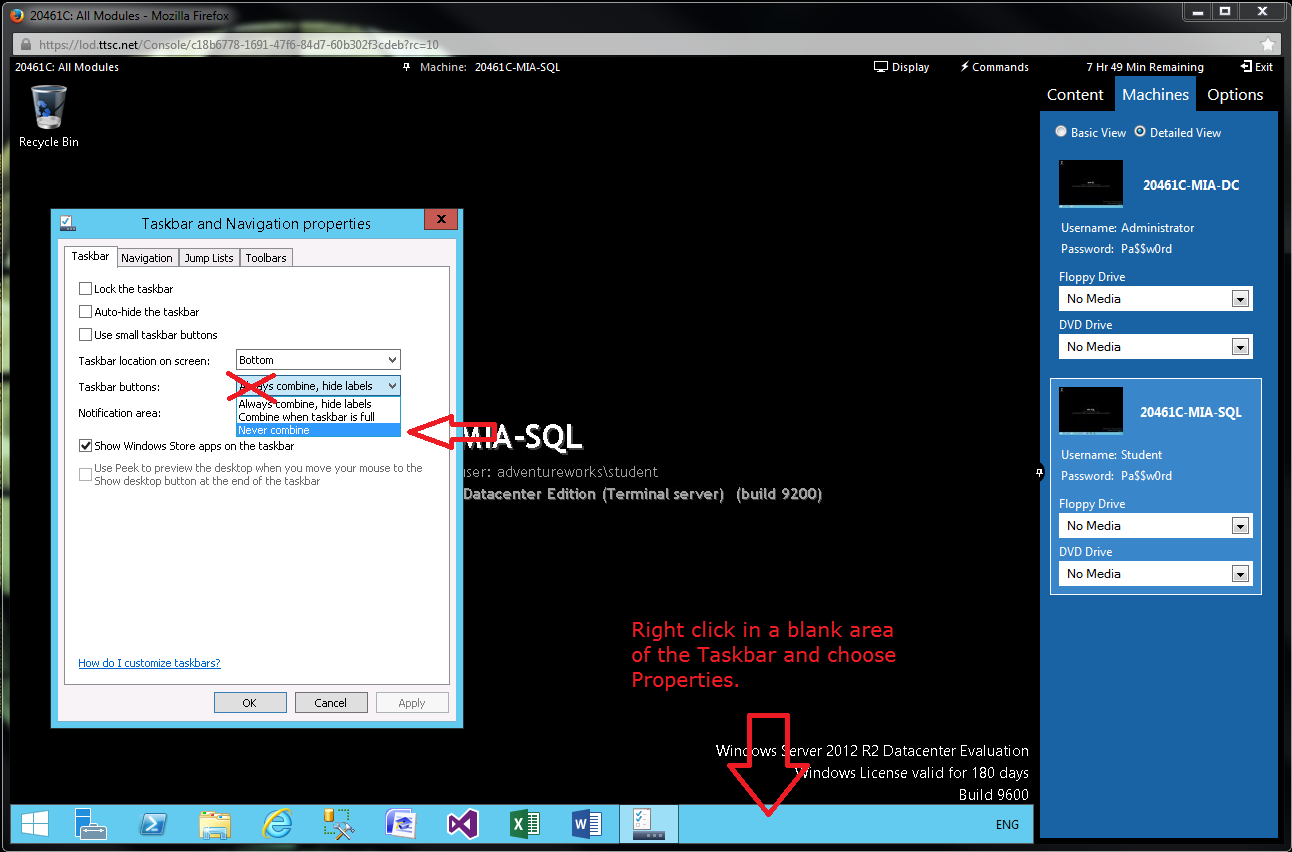 |
| You may wish to switch your virtual machine remote controller for various reasons | 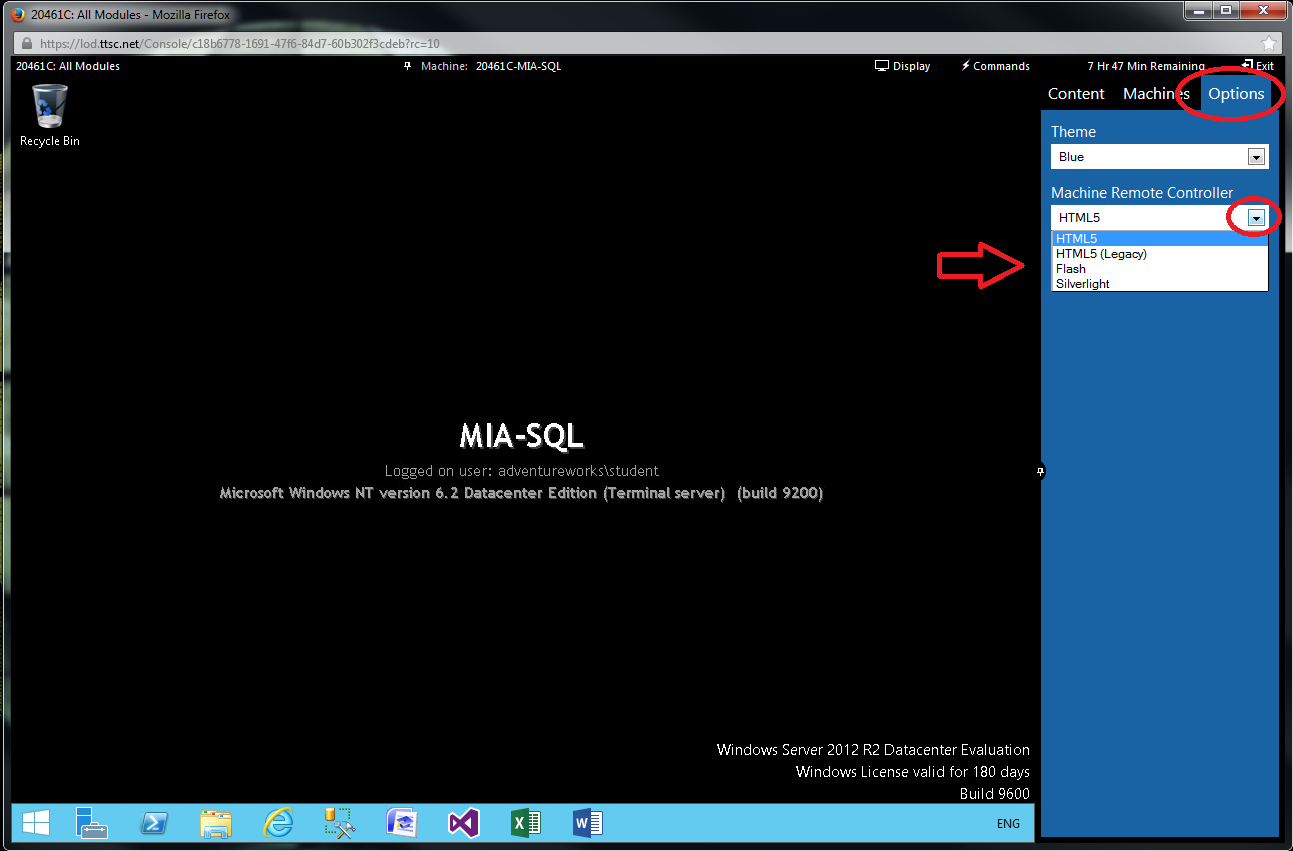 |
| Ignore and operating system or Microsoft Office activation alerts |  |
| You will find several special menus and features useful… | |
| Use the pushpin buttons to Auto-hide the side and bottom panels (if applicable) and the button shown to reveal a hidden pane | How to hide…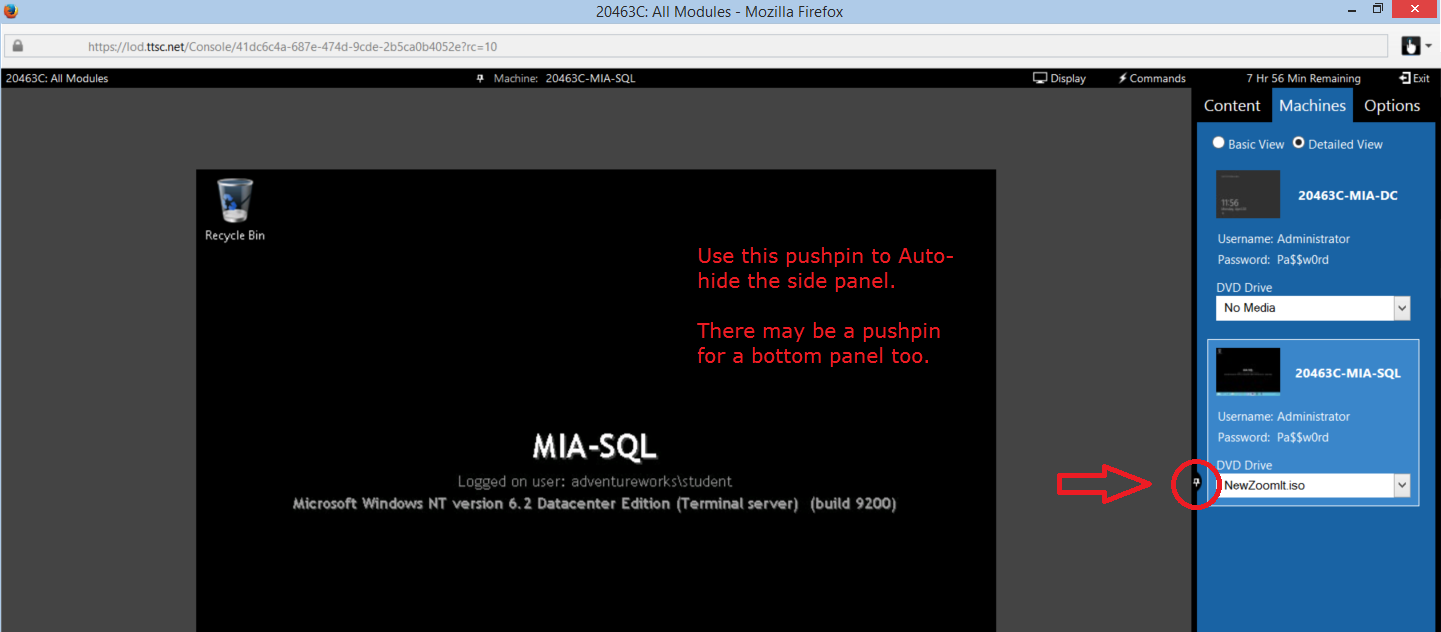 How to reveal… 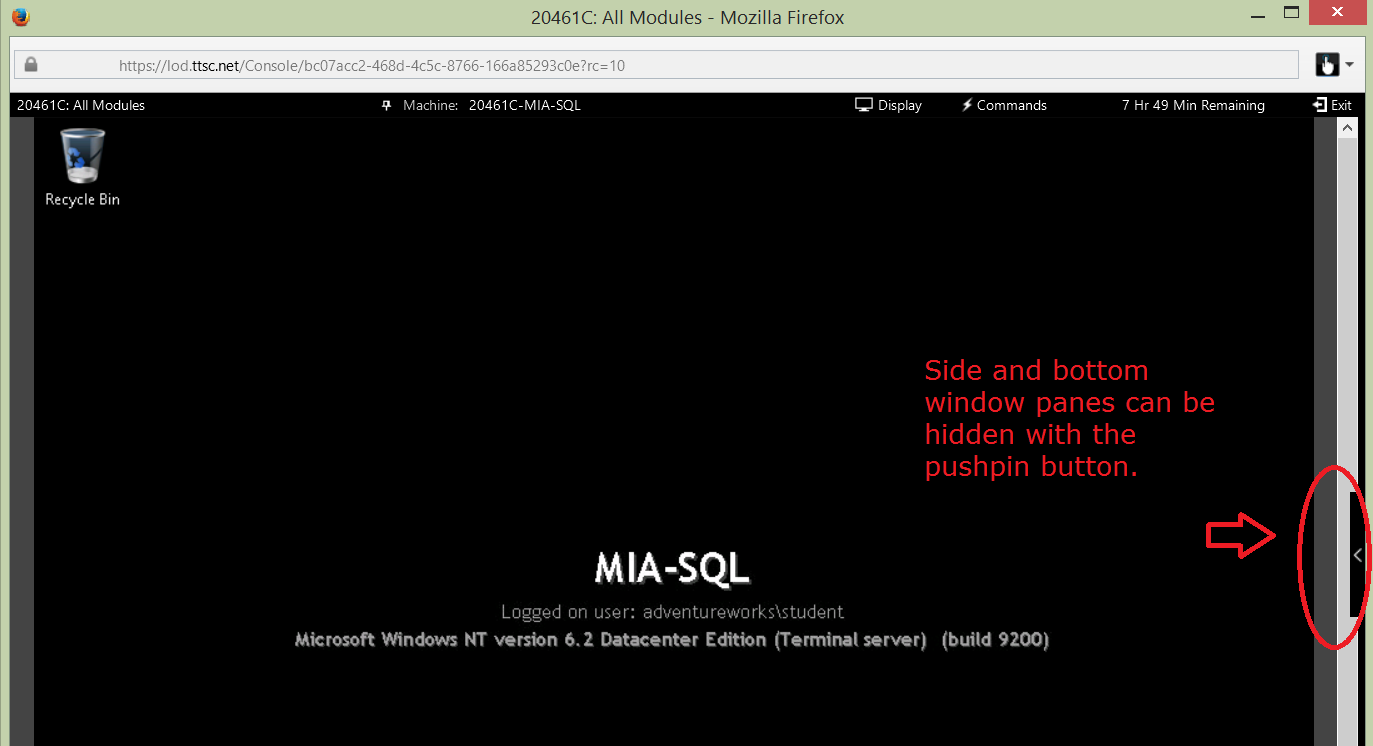 |
| Observe the special “Display” menu |  |
| Observe the special “Windows” submenu and virtual keyboard option |  |
| Observe the special “Power” submenu | 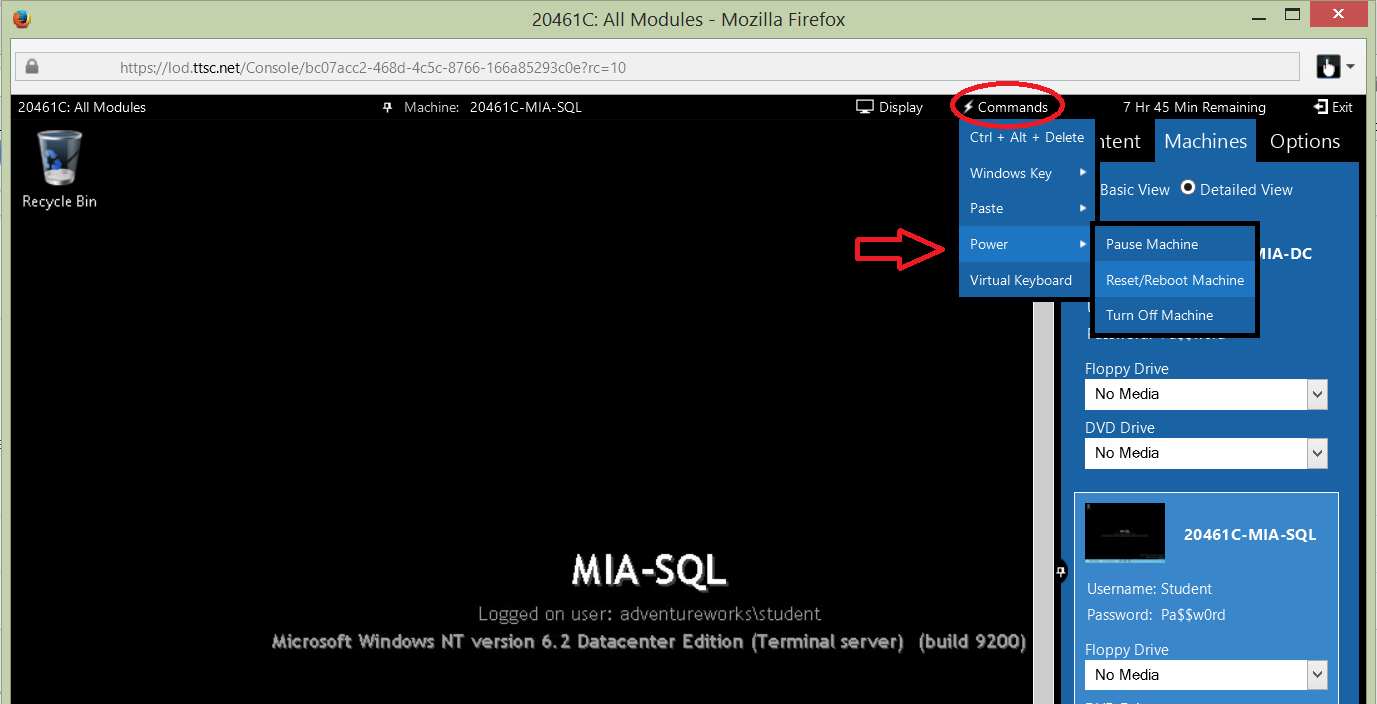 |
| Be aware .iso files with extra/related resources may be associated with your virtual machines, and, the screenshots attached to your lab won’t match the list in the screenshot |  |
| Only available in certain labs… | |
| “Idea” box | 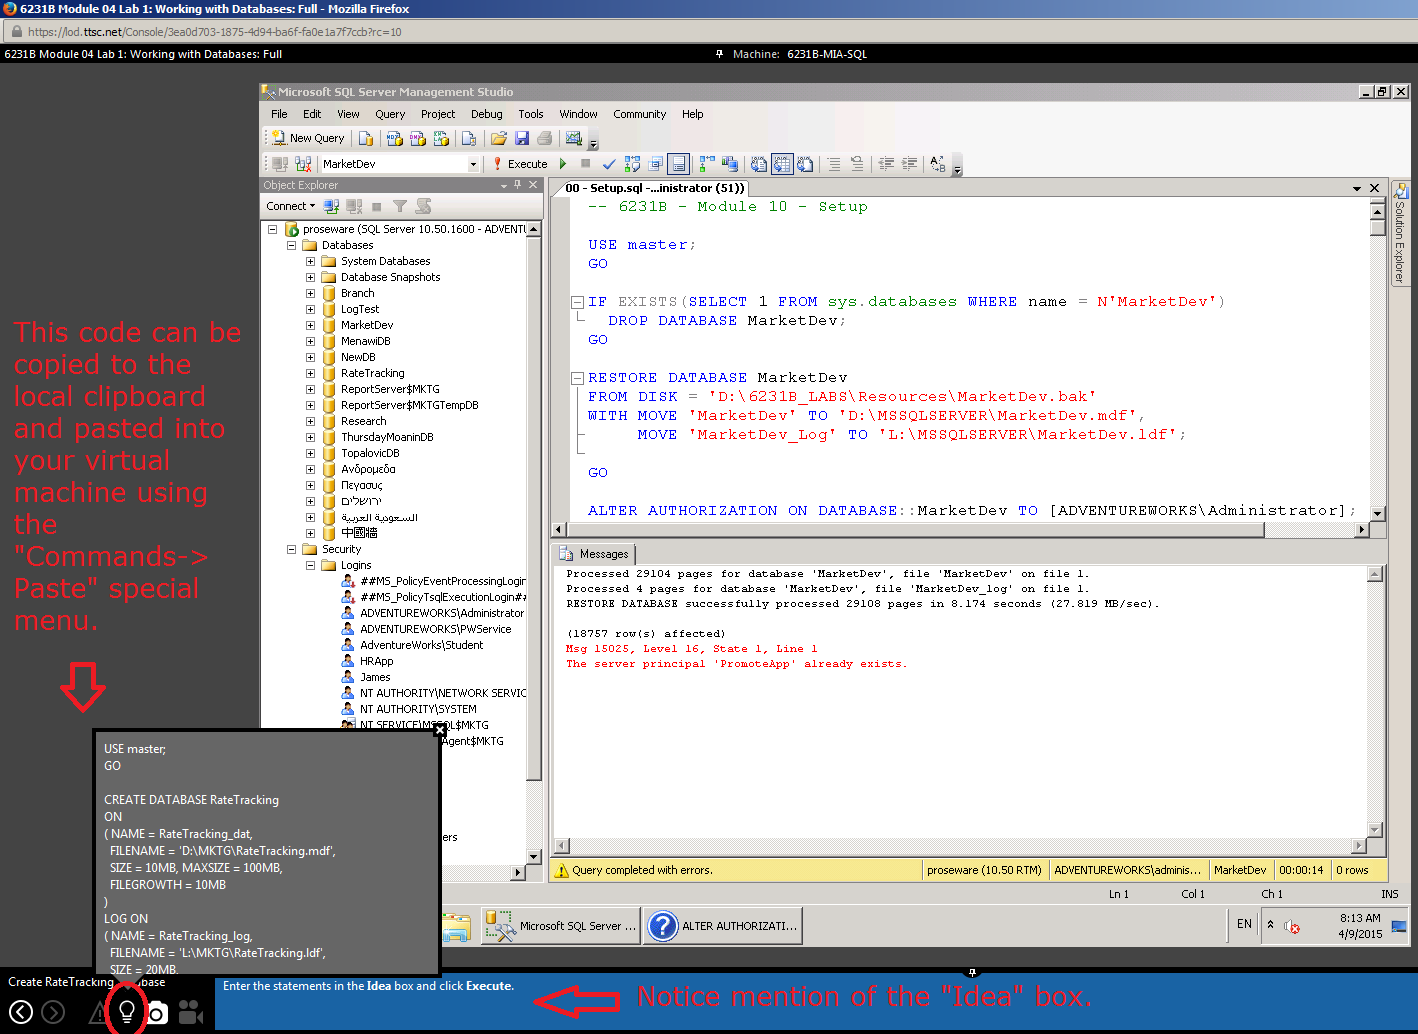 |
| Screenshot button |  |
| To freeze (save) your lab for later use… | |
| How to save a Lab so that you can resume it later…. Click on the tiny “Exit” button in the far upper right of the Lab-on-Demand environment Click on the “Save and close” menu item | 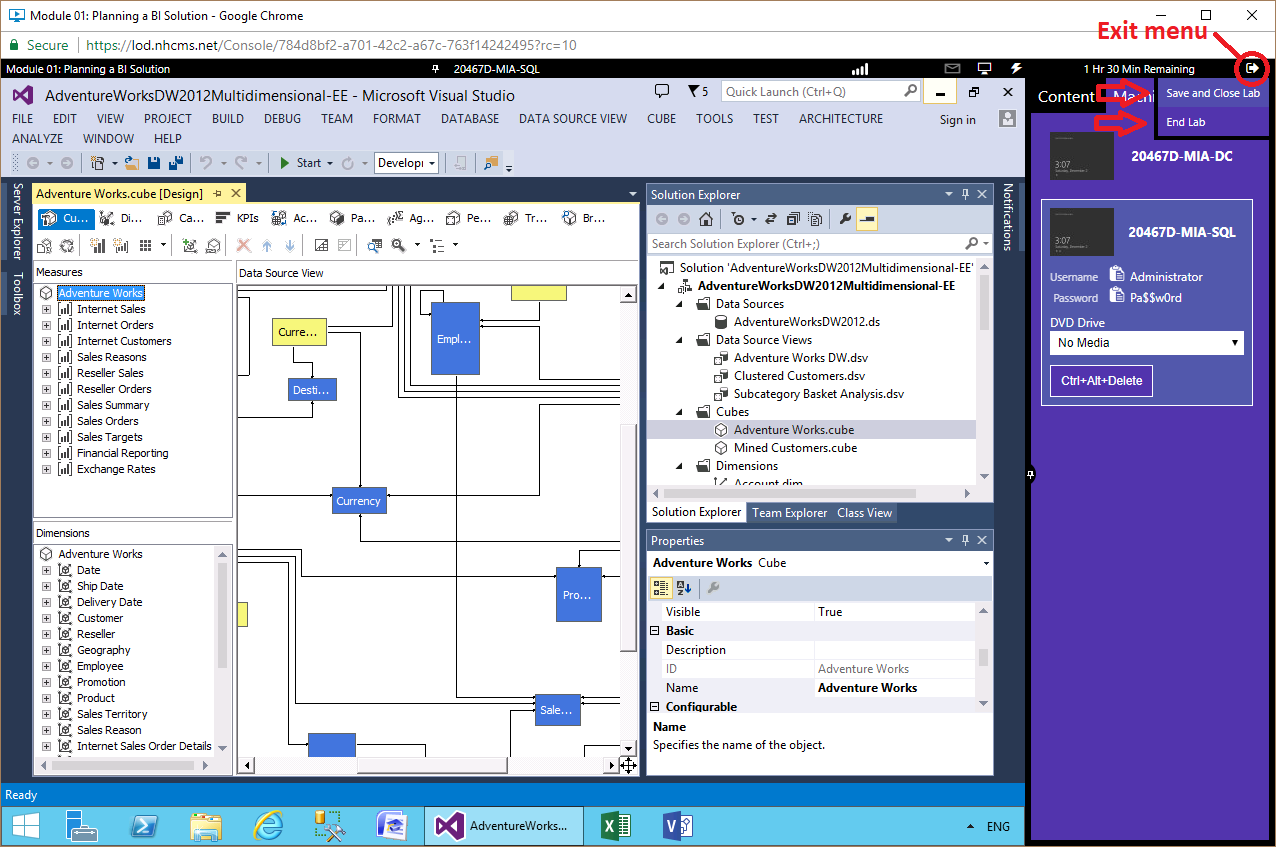 |
| Confirm that you want to save your lab. |  |
| End of lab options when the “Cancel” option is chosen |  |
| How to resume a Lab-on-Demand session after saving it |  |
| The first time through a particular lab strongly consider following the step by step instructions as presented in the Lab Answer Key |  |
| Lab Moderator screens | |
| The instructor is able to remotely view a thumbnail and full screen view of your lab and information about your lab activity | 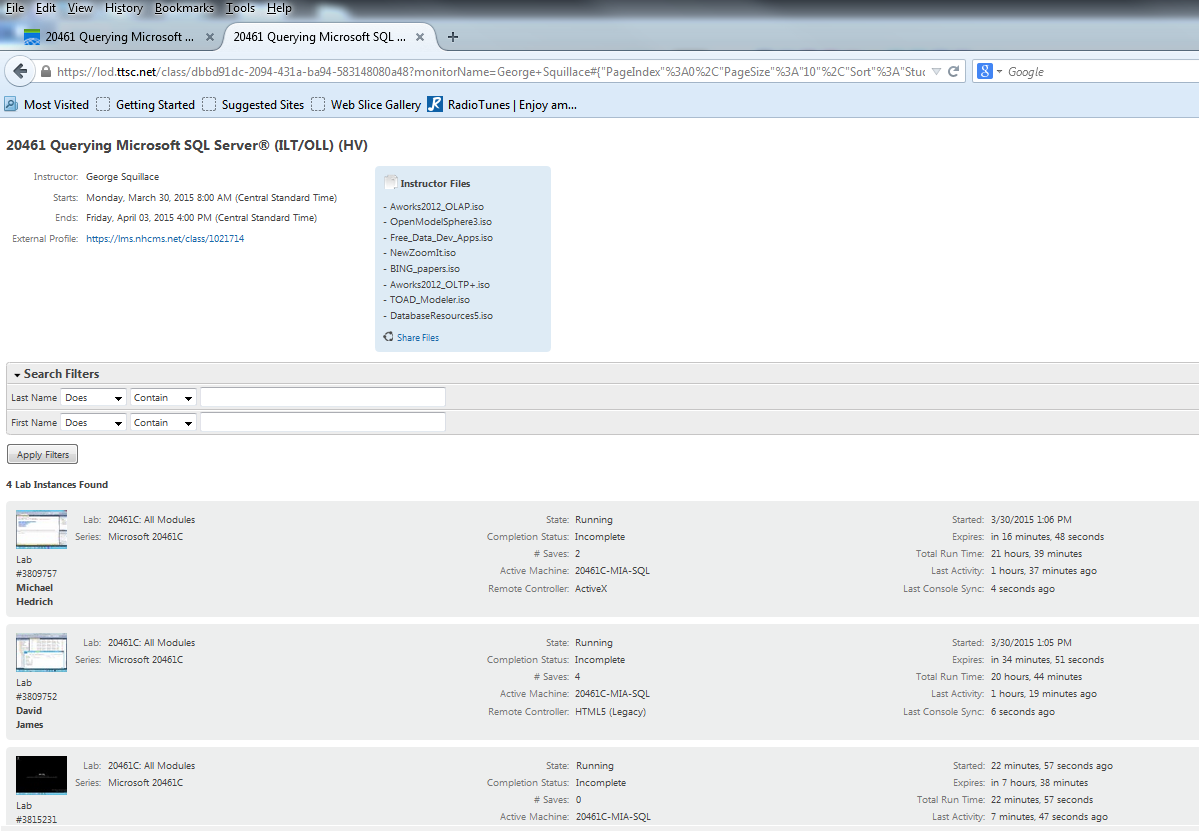 |
| The instructor is also able to remote control your lab should you need assistance | 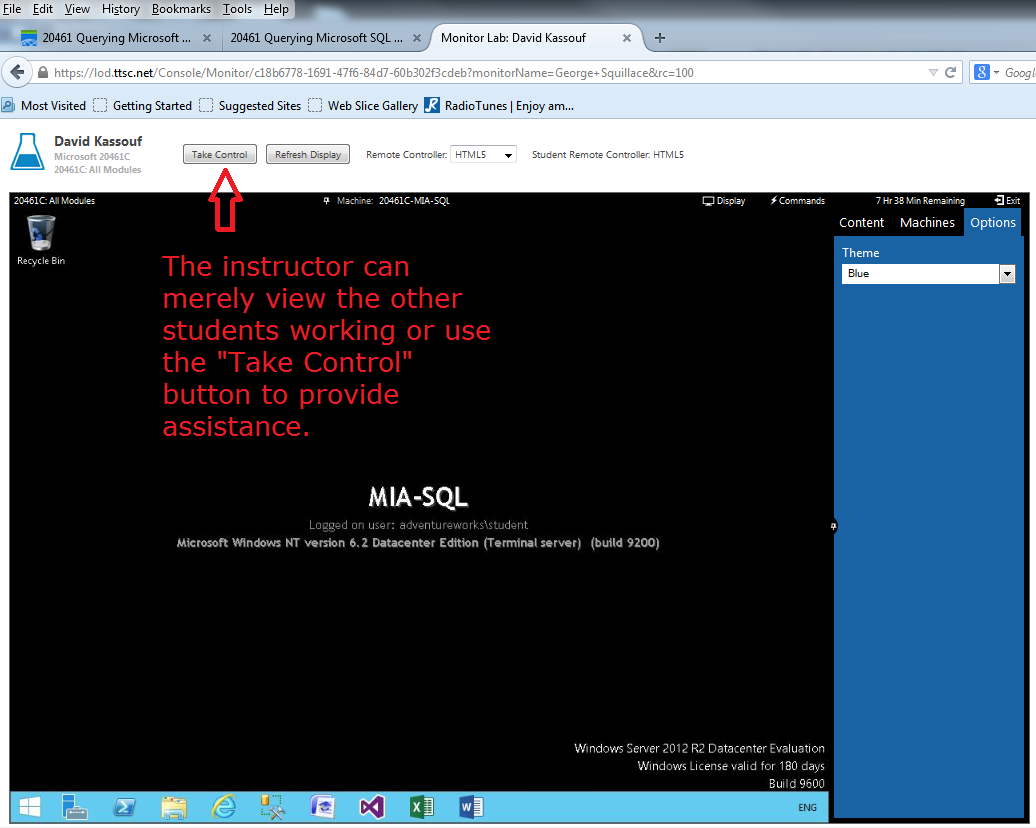 |
| Other screens of interest | |
| Announcement: “We are experiencing problems with Adobe Connect” | 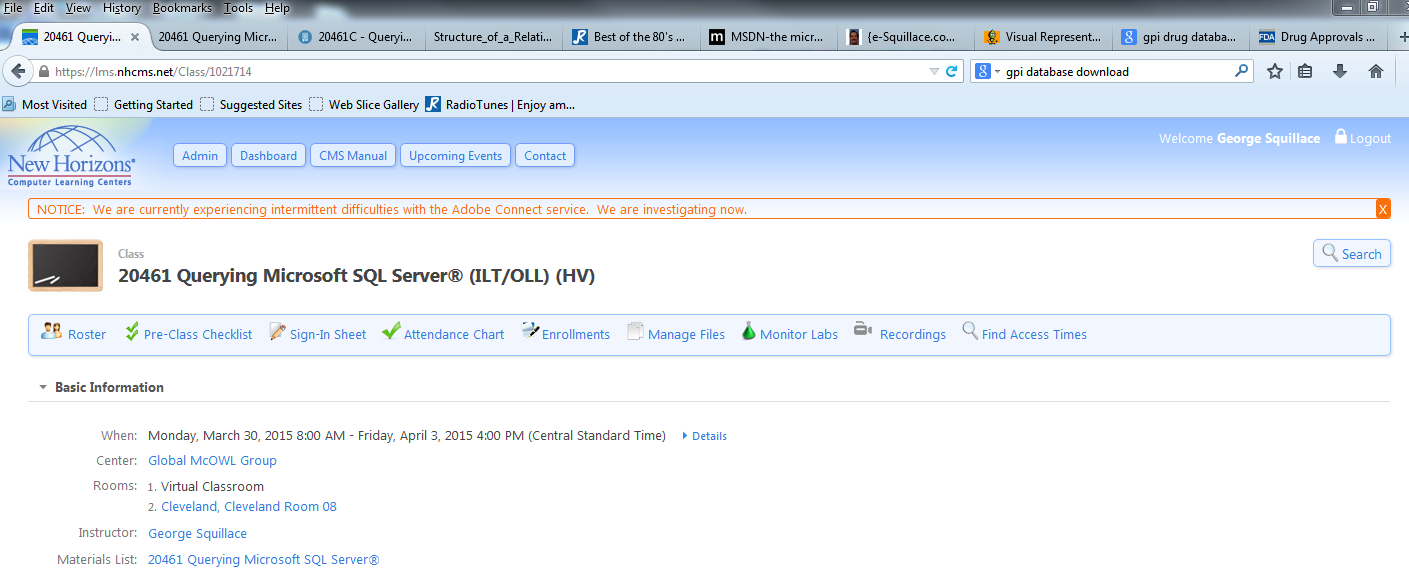 |
| The Adobe Connect recording screen | 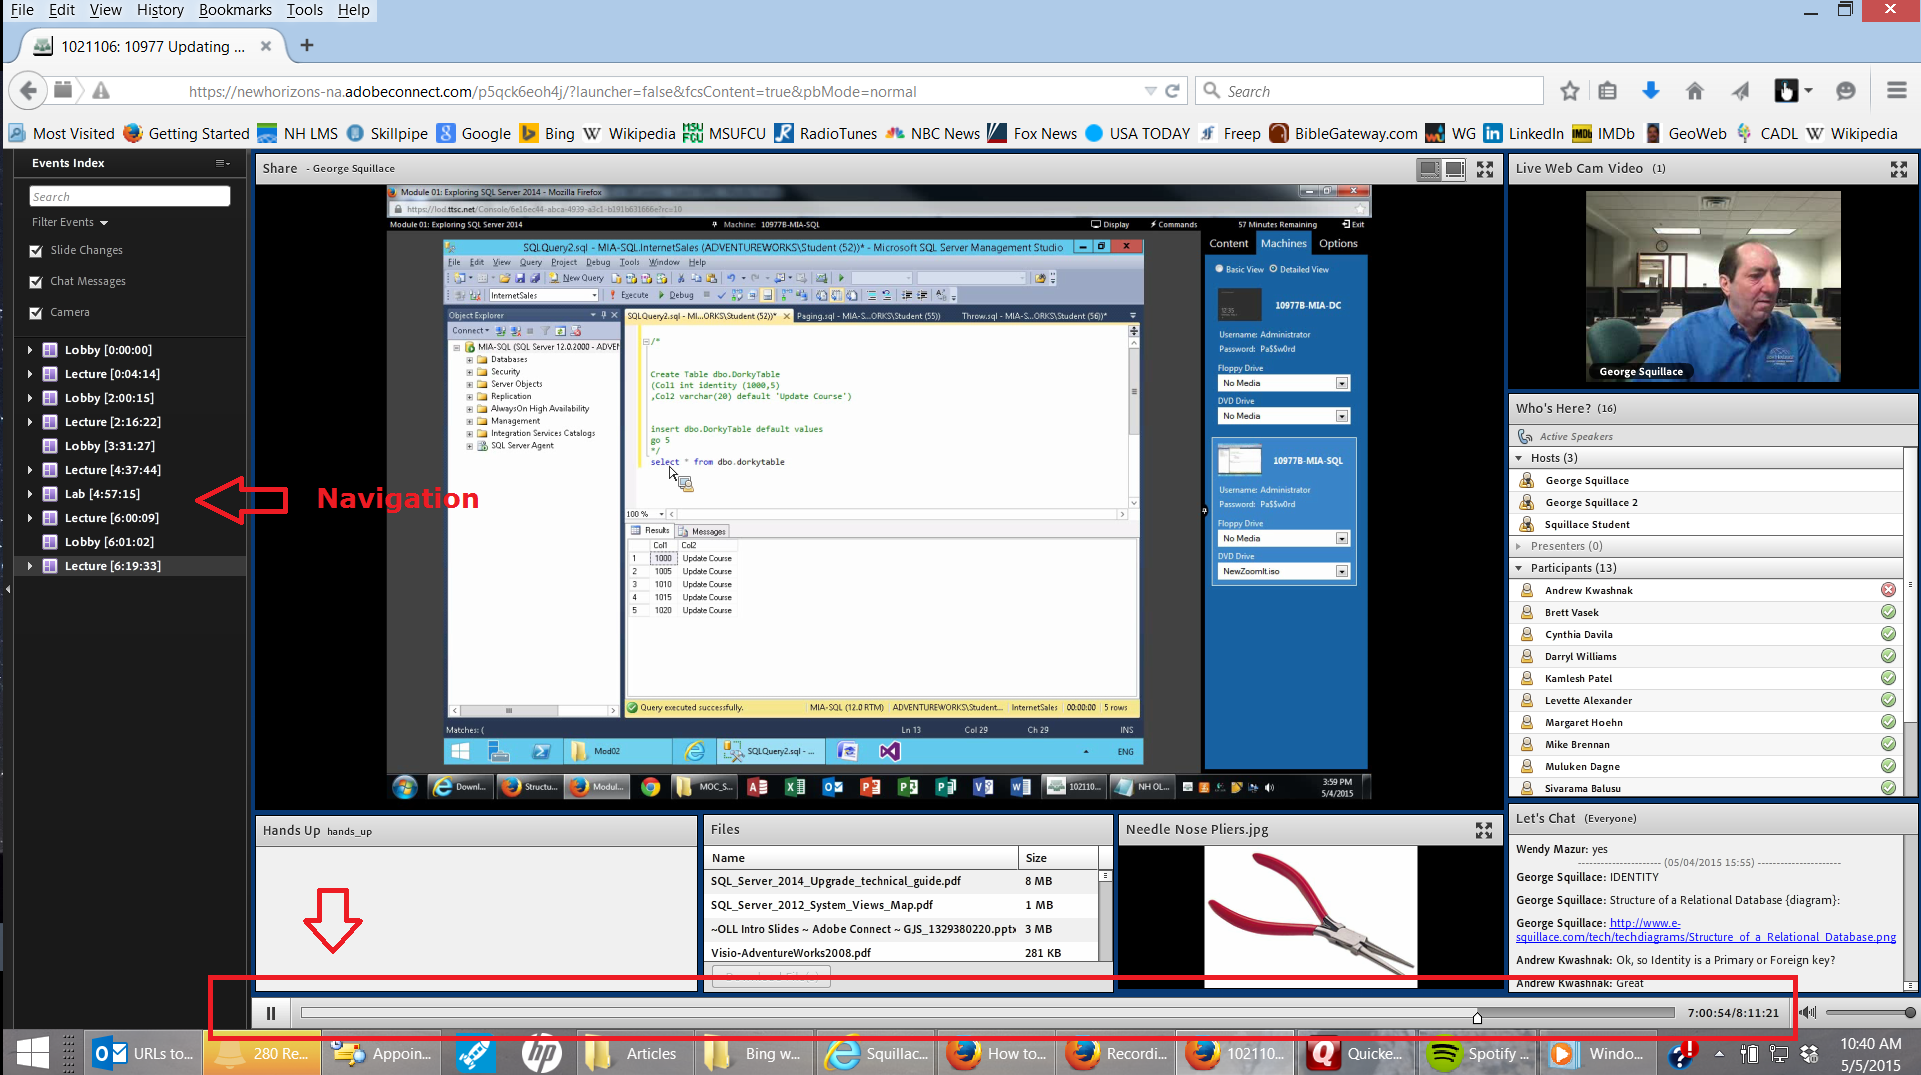 |